Efirma bank integration guide
How to connect your business bank account to Efirma Banking - step by step, with screenshots.
What do we need?
- 1BankID login by a person who has access to the bank account, and by the persons who can sign the agreement
- 2The company’s organisation number
- 3Access to the contact person’s email inbox (the email address you receive our emails at)
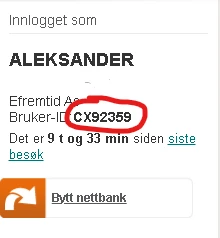
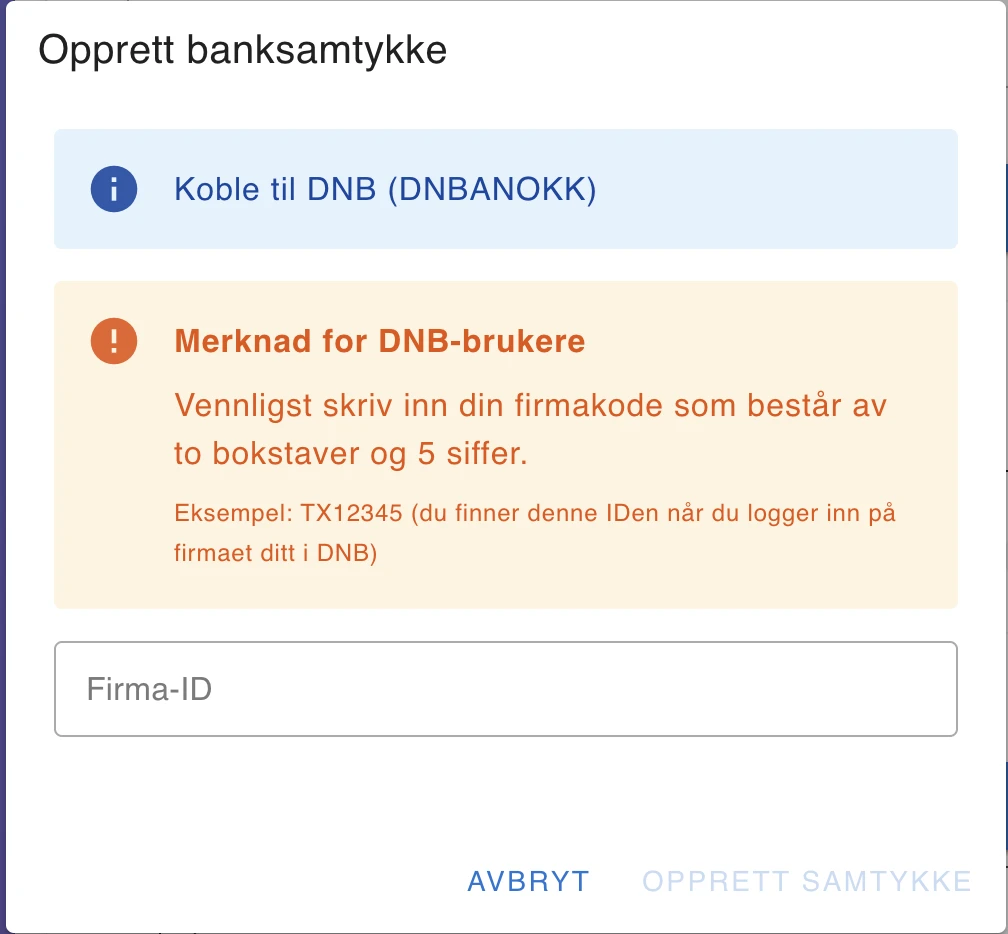
- 4For DNB - DNB’s internal company ID. You will find it after logging in to the company, in the top right corner:
If you run into problems at any step, let us know. Take a screenshot if you can. We will help you complete the integration correctly.
Part 1: Logging in
Go to bank.efirma.no and click «Set password»
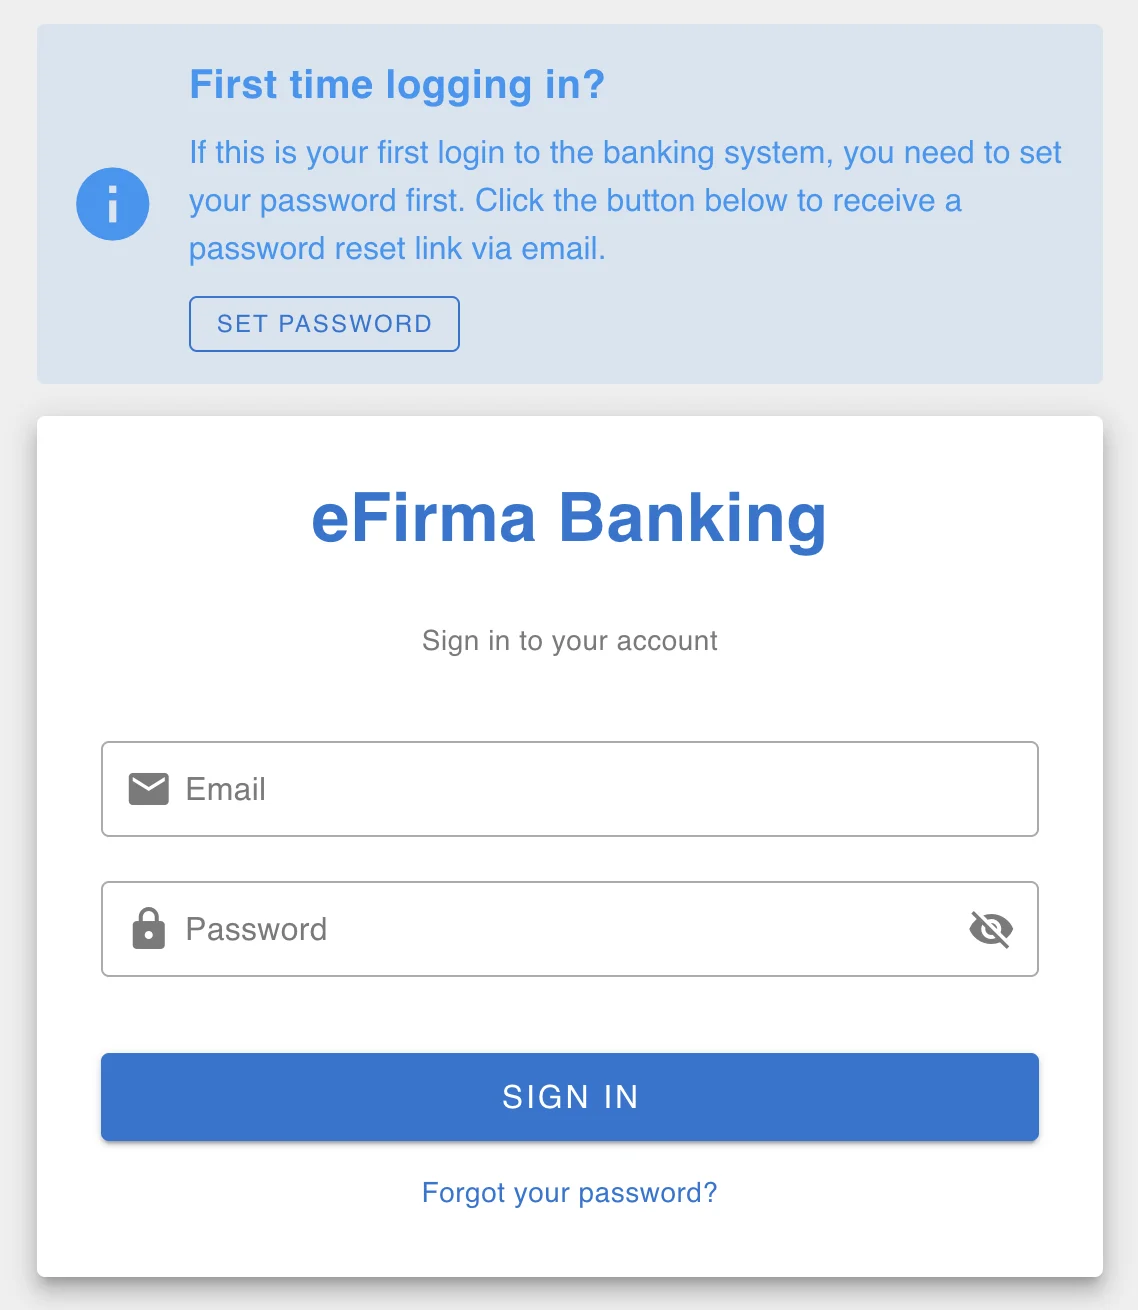
Enter the contact person’s email address and click «Send reset link»
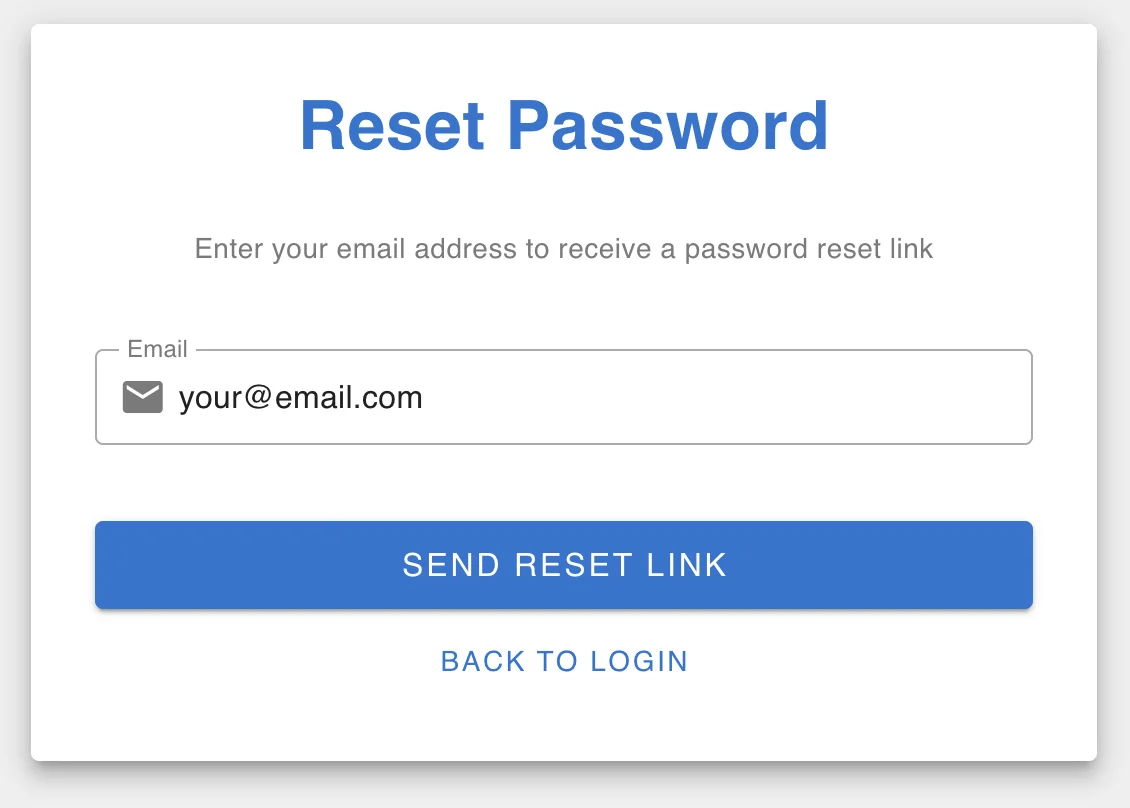
You will receive a password reset email. Click «Reset password», set a new password and click «Reset password»
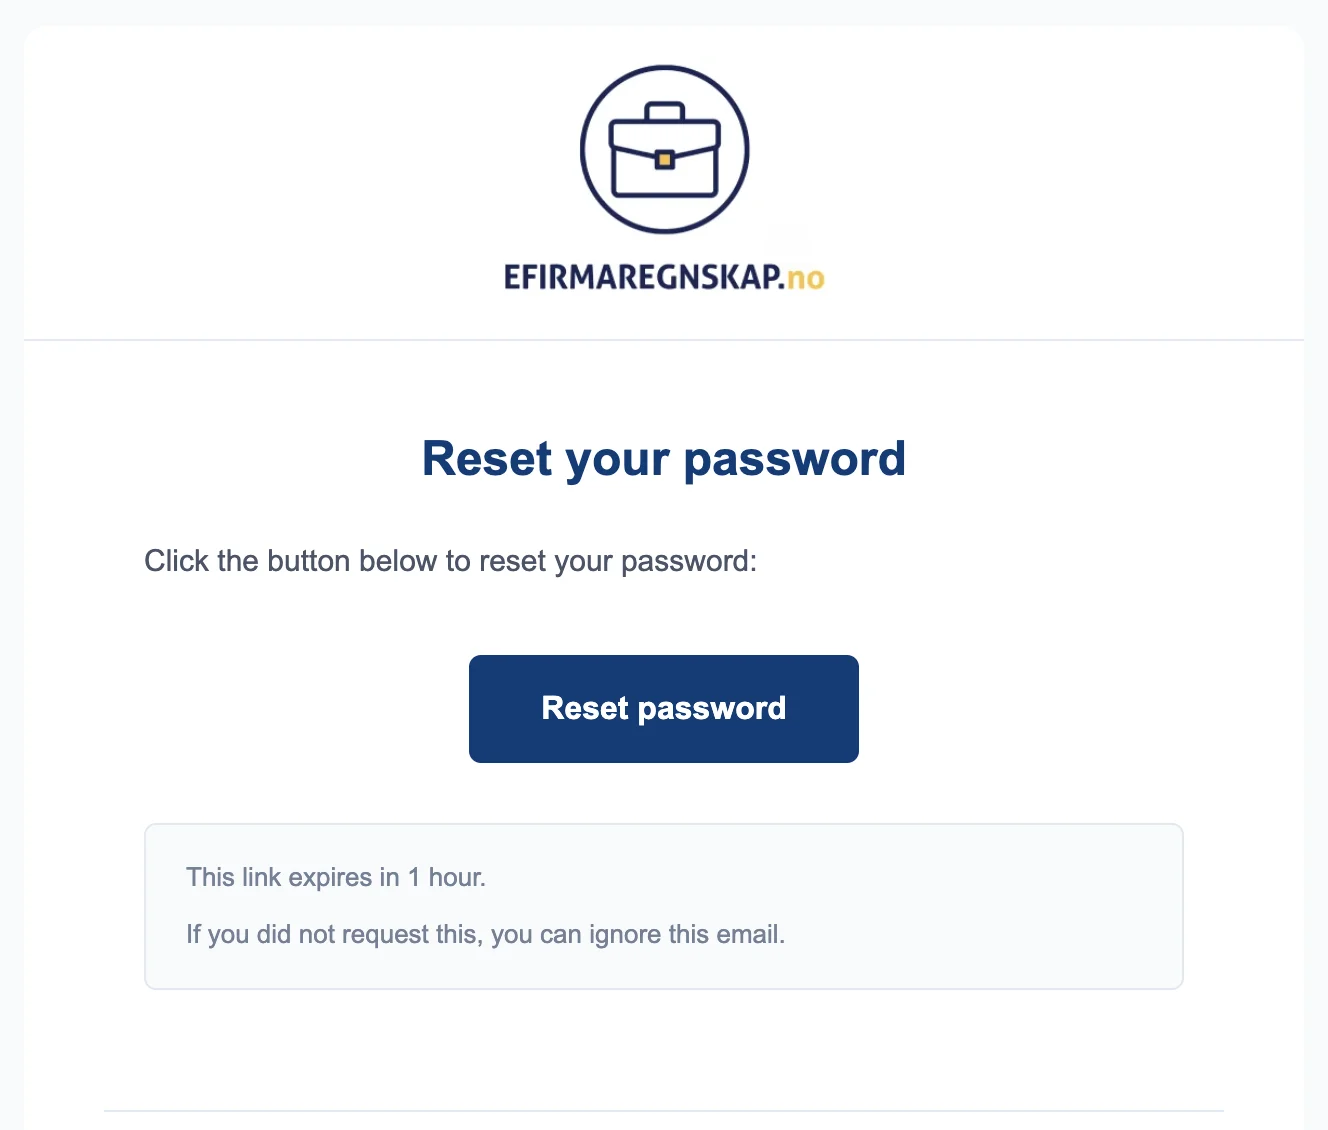
Log in
Click «Start ZTL onboarding» and check that you are representing the correct company
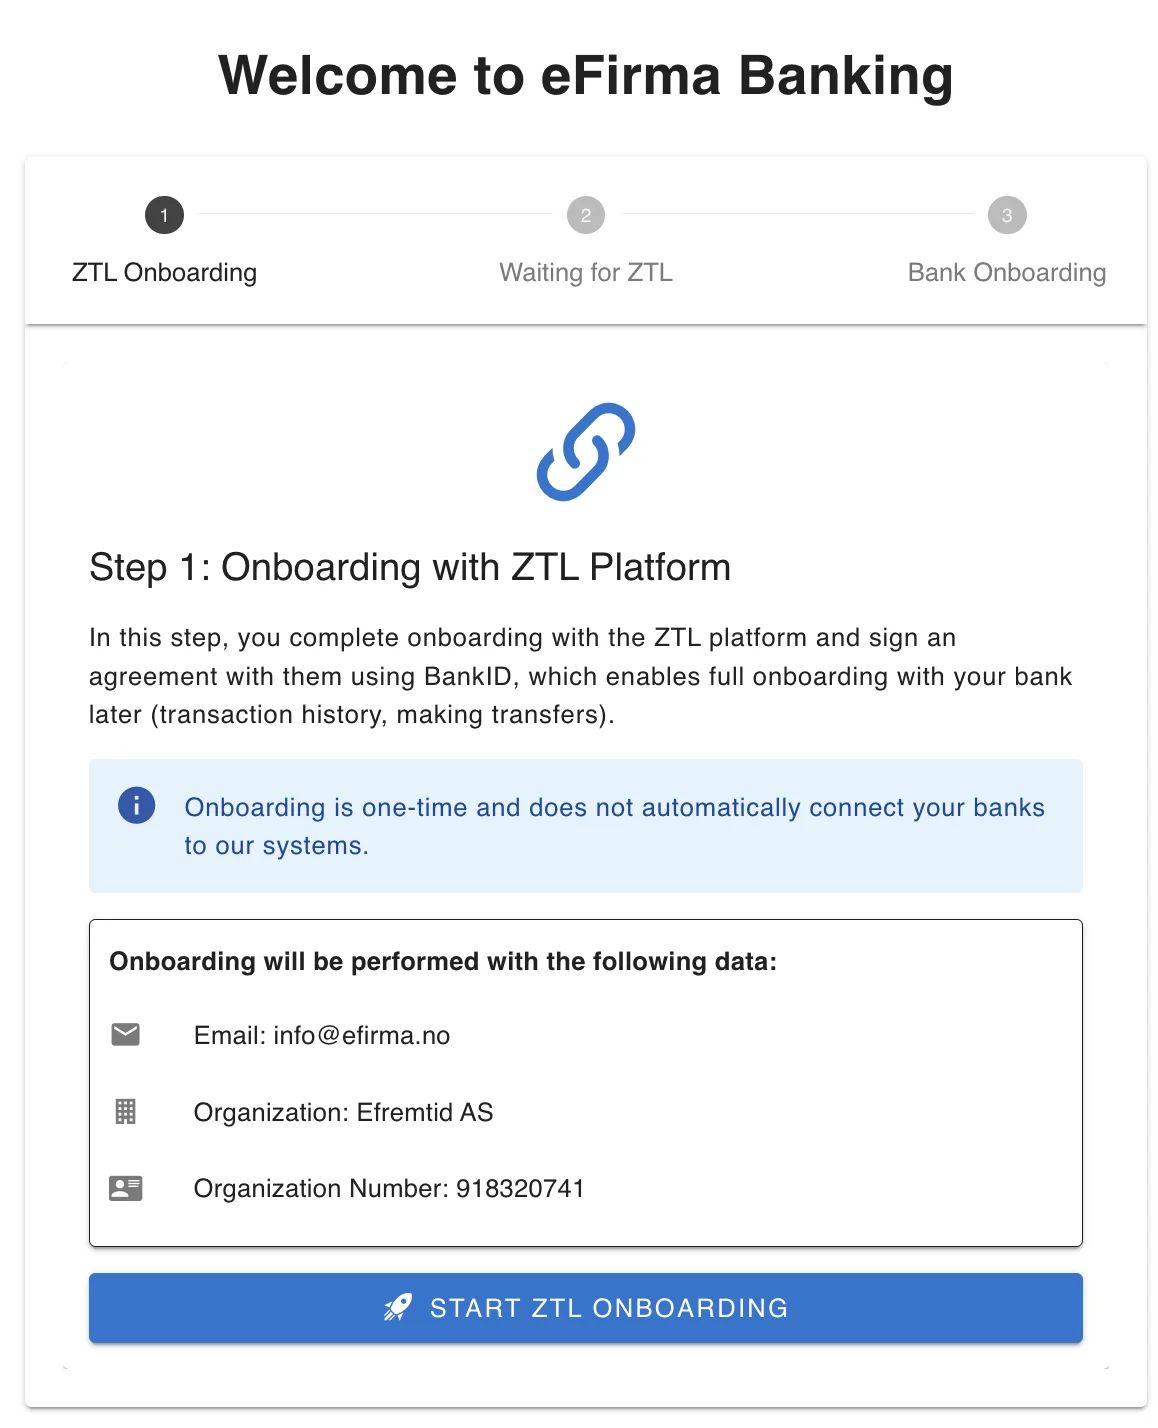
Click the onboarding link («Open link») and complete the onboarding with ZTL
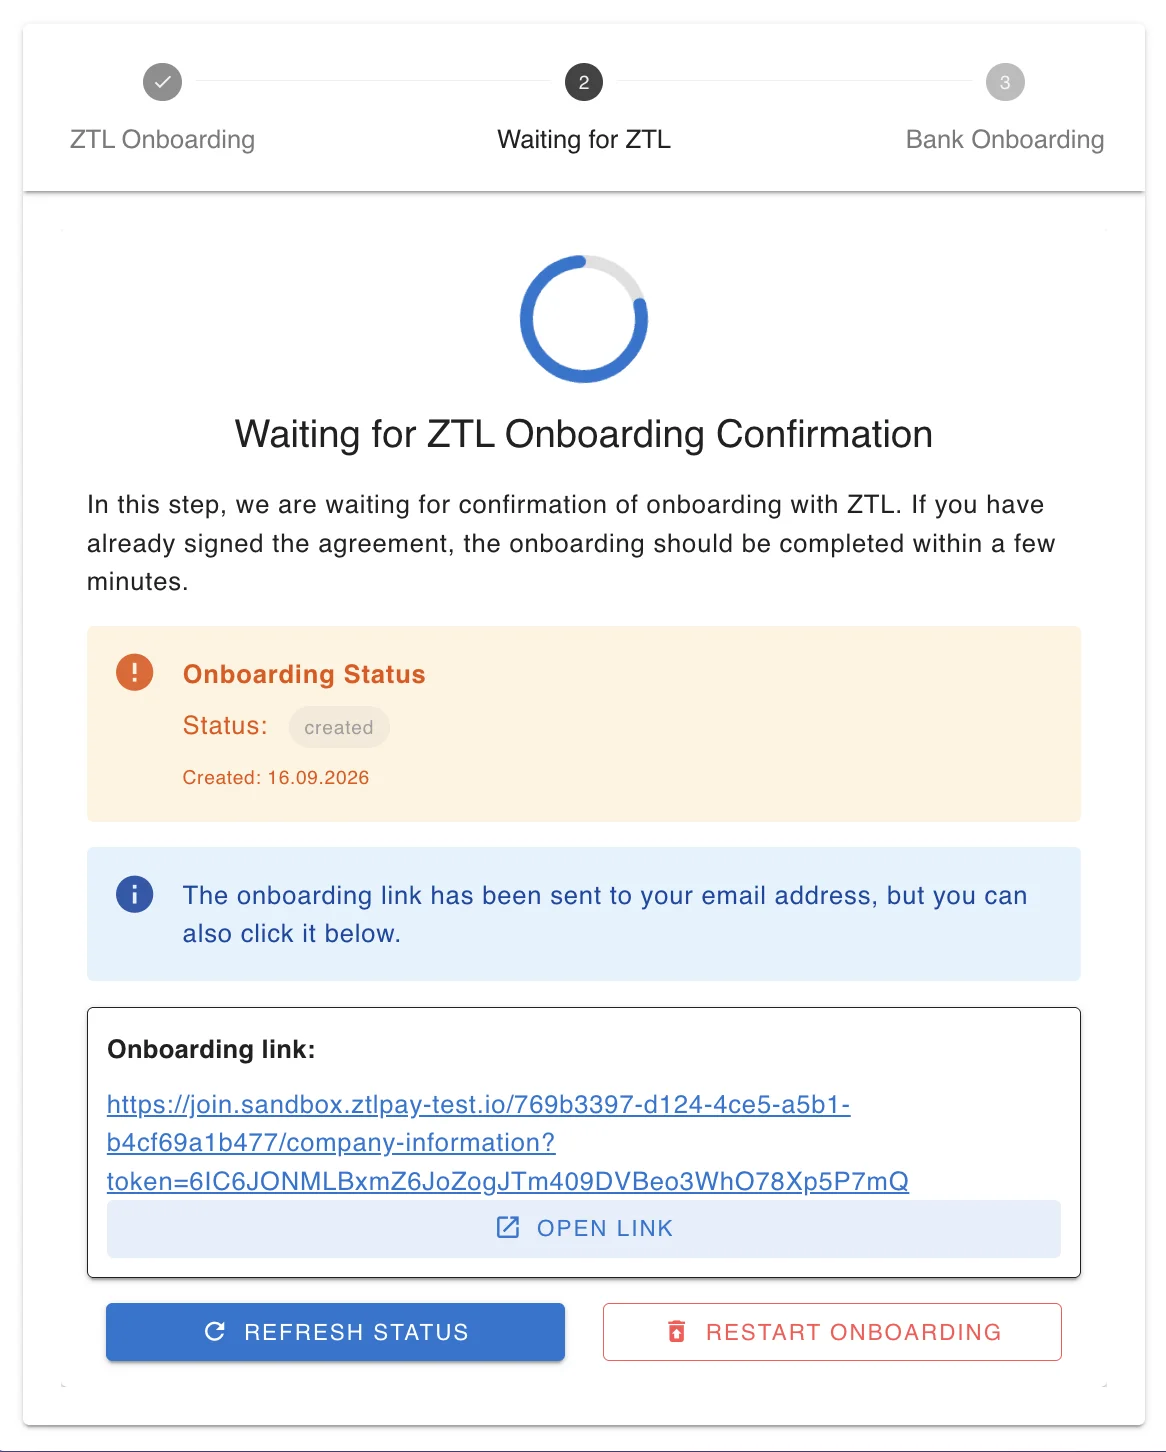
Part 2: Onboarding with ZTL (new form)
When you click the onboarding link, a new ZTL form consisting of 5 steps opens.
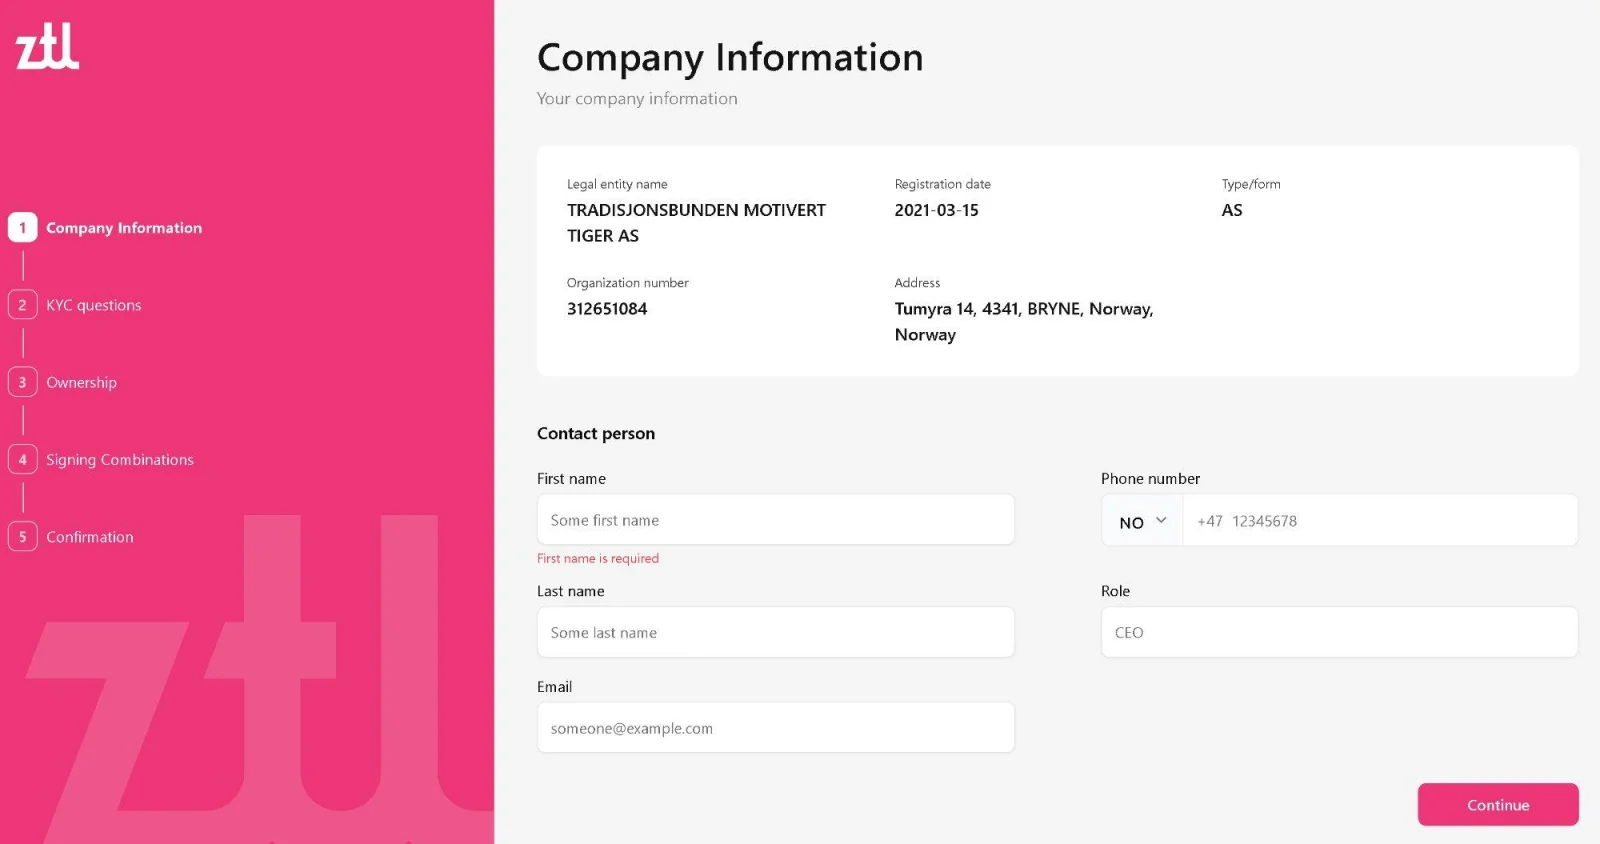
Company Information
The company details should load automatically based on the organisation number (company name, registration date, organisation type and address). Your task is to fill in the contact person’s details:
- a) First name - the contact person’s first name
- b) Last name - surname
- c) Email - the contact person’s email address
- d) Phone number - phone number (with country code)
- e) Role - role in the company (e.g. CEO)
Once you have filled in the details, click Continue.
KYC Questions
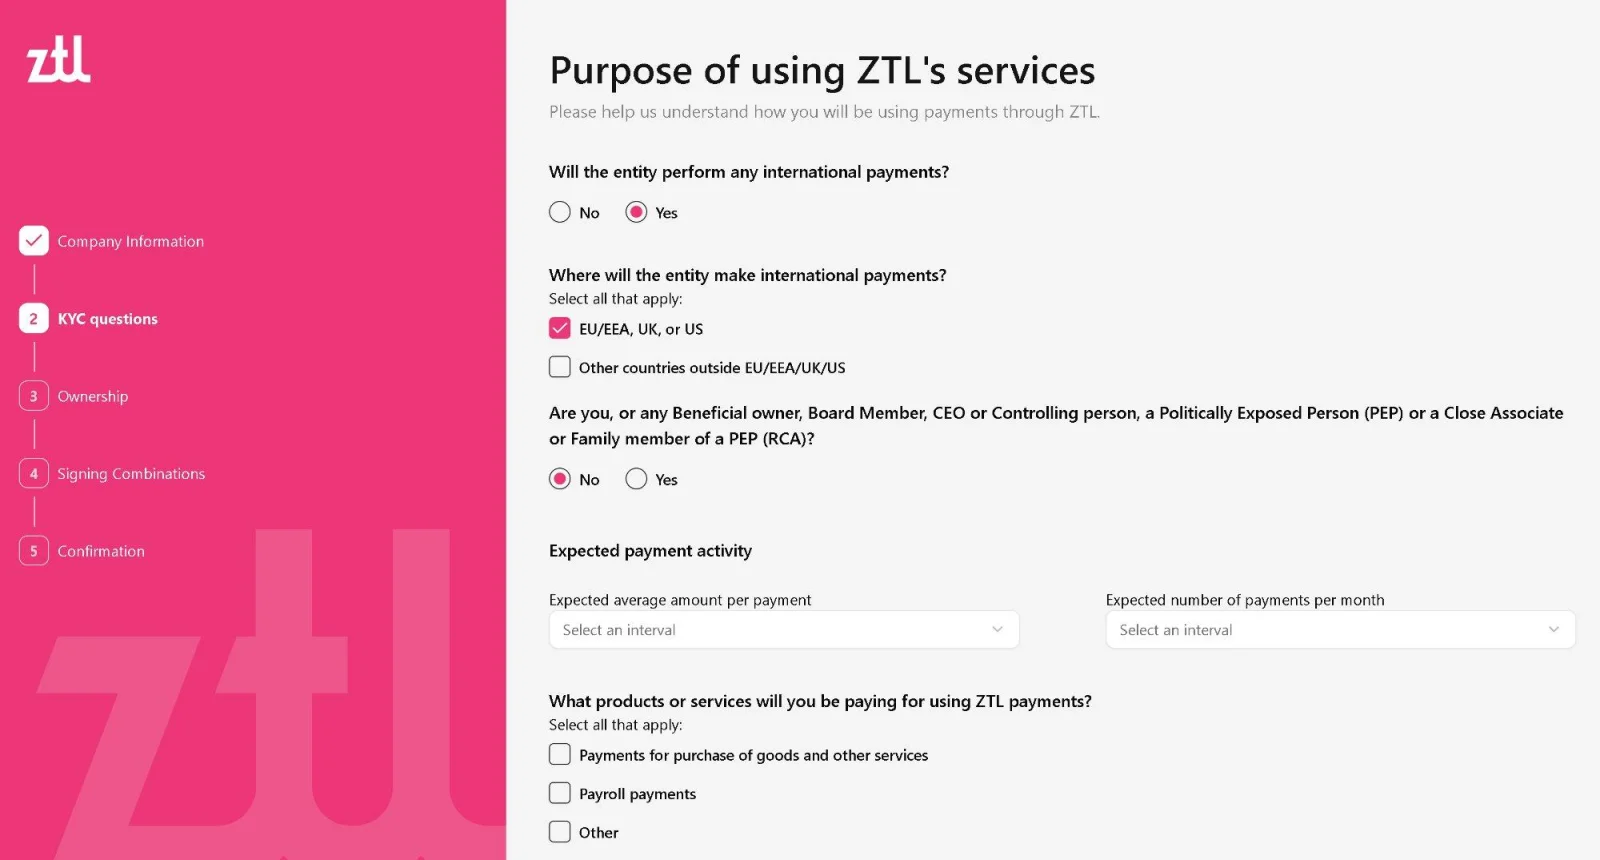
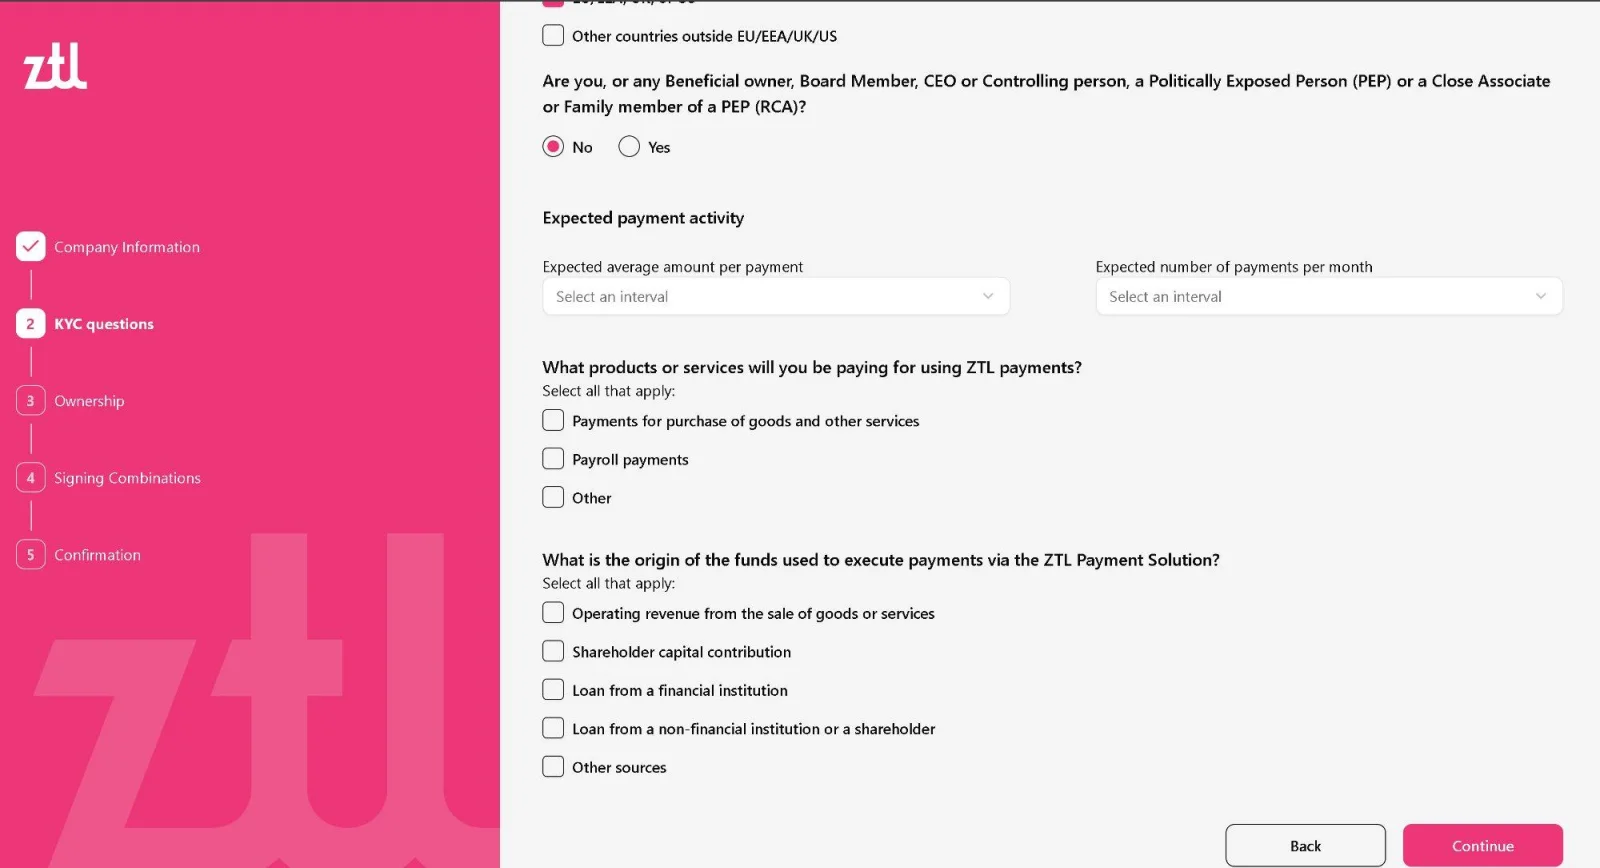
On this page you answer the questions required by law (AML/KYC). The form is titled «Purpose of using ZTL’s services»:
Will the entity perform any international payments? - Choose Yes or No. If yes, specify where (EU/EEA, UK, or US / Other countries).
Are you, or any Beneficial owner, Board Member, CEO or Controlling person, a Politically Exposed Person (PEP)? - Choose No or Yes.
Expected payment activity - From the drop-down lists, choose the expected average amount per payment and the expected number of payments per month.
What products or services will you be paying for…? - Tick the relevant options: Payments for purchase of goods and other services / Payroll payments / Other.
What is the origin of the funds? - Where do the funds used for payments come from? Choose for example: Operating revenue from the sale of goods or services, Shareholder capital contribution, Loan from a financial institution, etc.
Important: Filling in these fields does not oblige you to make any payments through ZTL, and the values can be changed at any time.
Once you have filled in the details, click Continue.
Ownership (Beneficial owners)
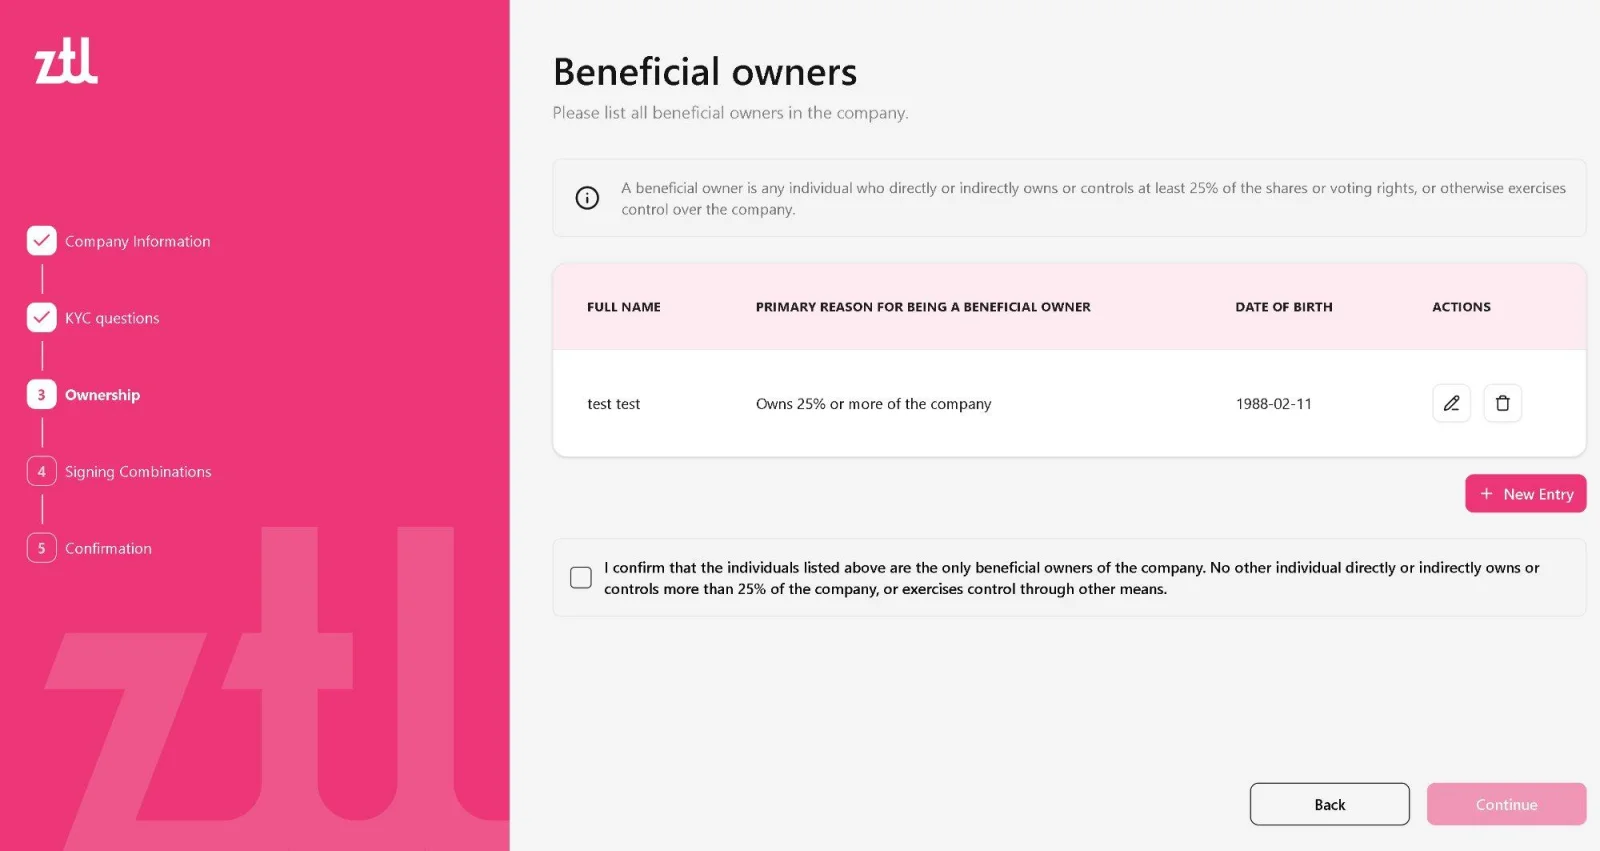
On this page you review and edit the list of the company’s beneficial owners (persons who directly or indirectly own at least 25% of the shares or votes).
If the details are correct, confirm by ticking the box at the bottom of the page.
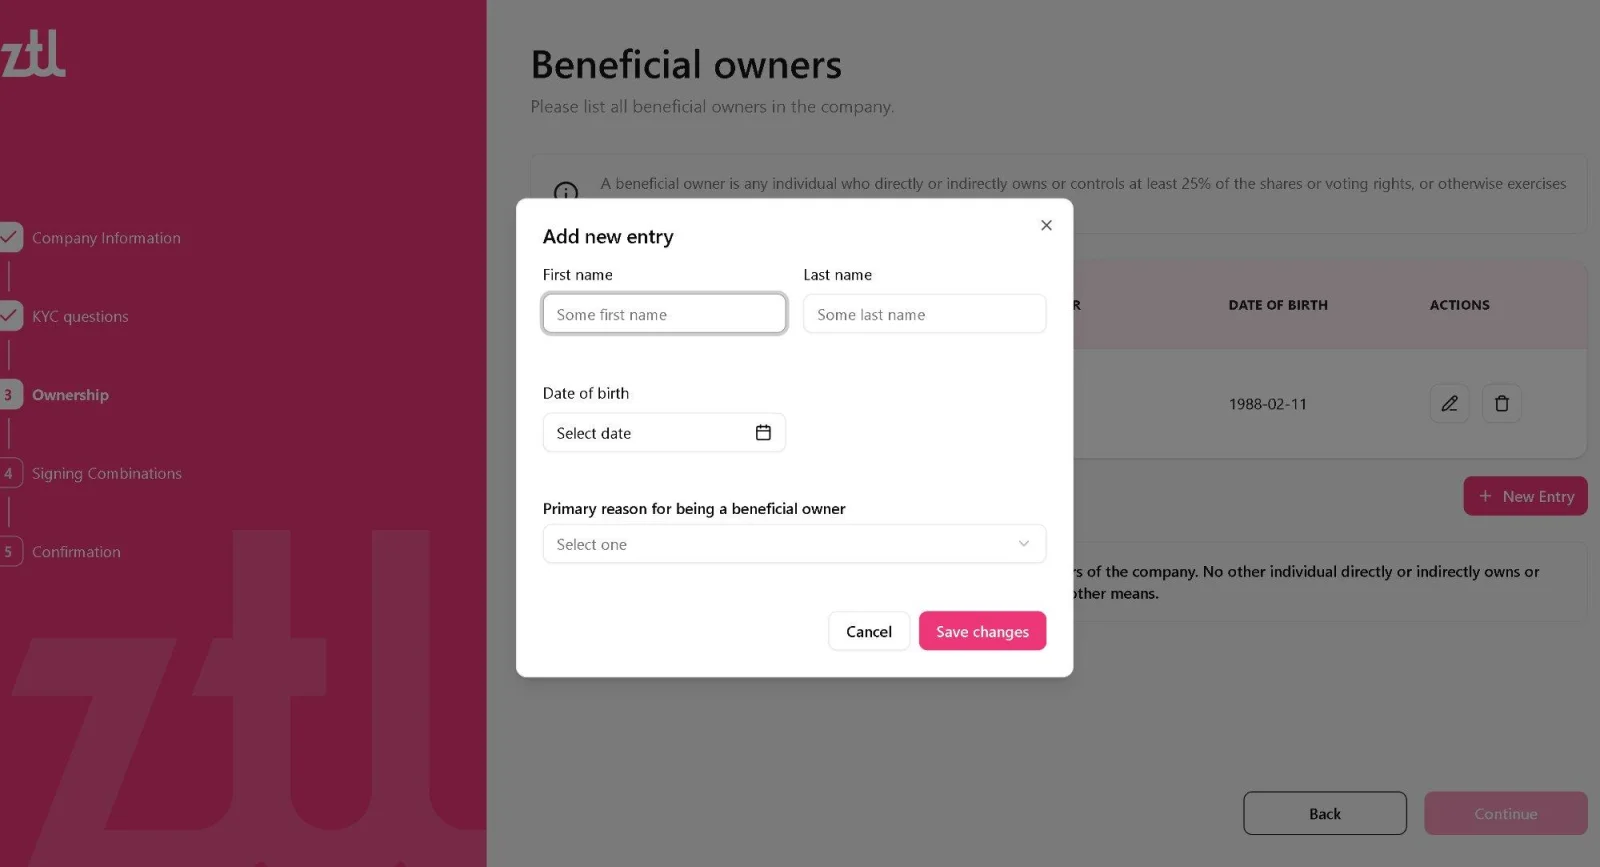
If you need to add a new person, click + New Entry and fill in the form (first name, surname, date of birth and the reason the person is a beneficial owner).
After checking, click Continue.
Signing Combinations
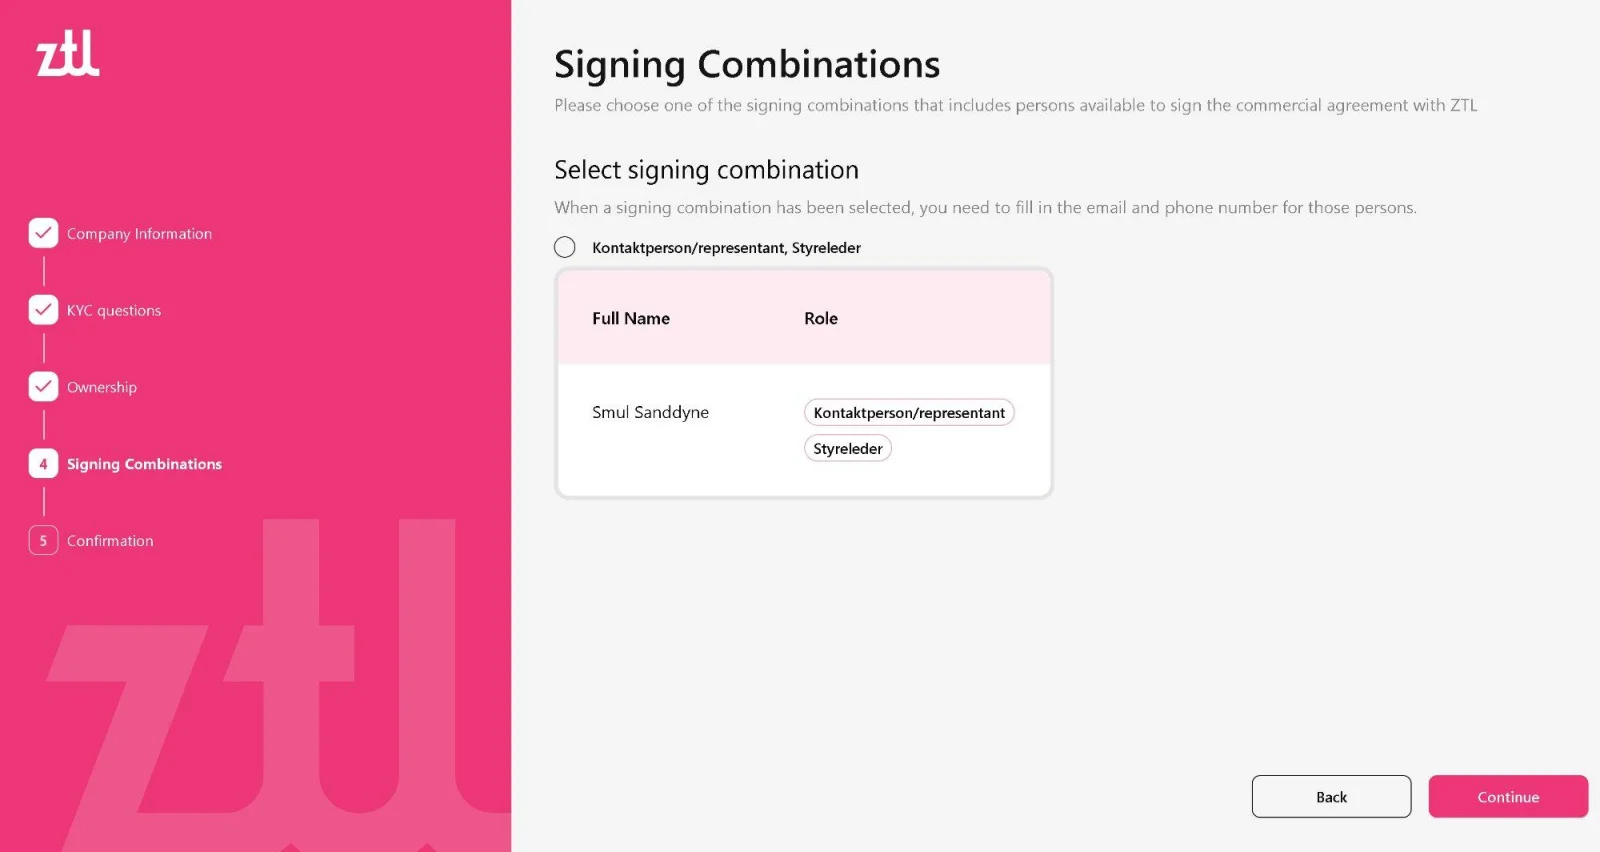
Choose the combination of persons authorised to sign the agreement with ZTL. The list shows the available combinations together with the persons’ roles (e.g. Kontaktperson/representant, Styreleder).
Once you have chosen a combination, you must provide an email address and phone number for these persons. The documents to be signed will be sent to these contact details.
Click Continue.
Confirmation
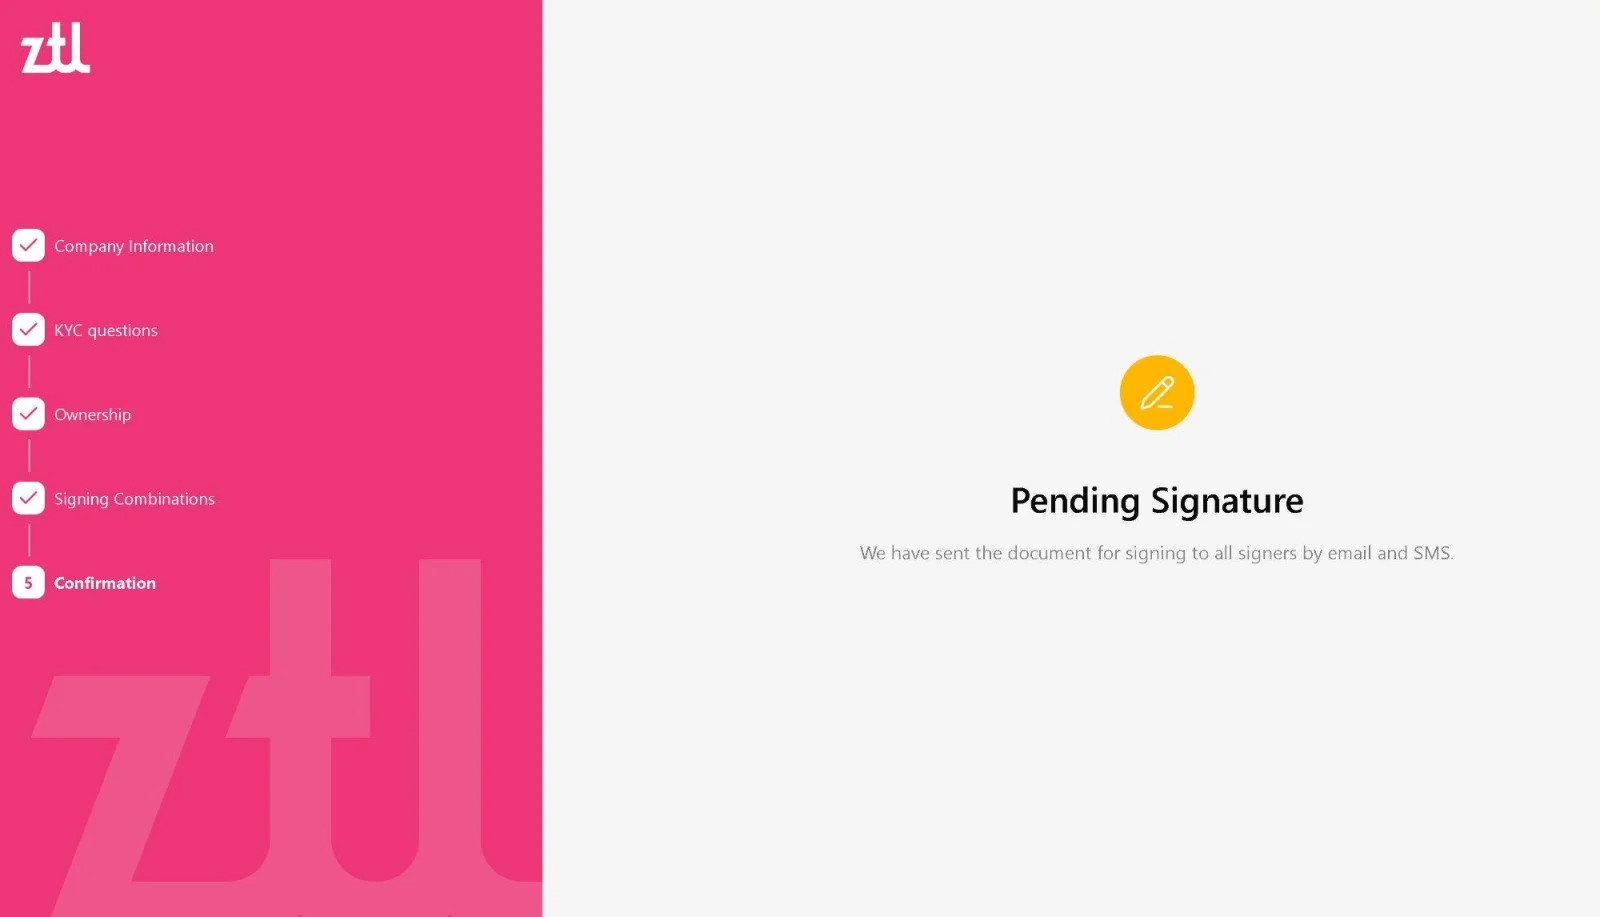
When all the steps are completed, the form is submitted. You will see the «Pending Signature» screen. This means the documents to be signed have been sent by email and SMS to the persons in the chosen signing combination.
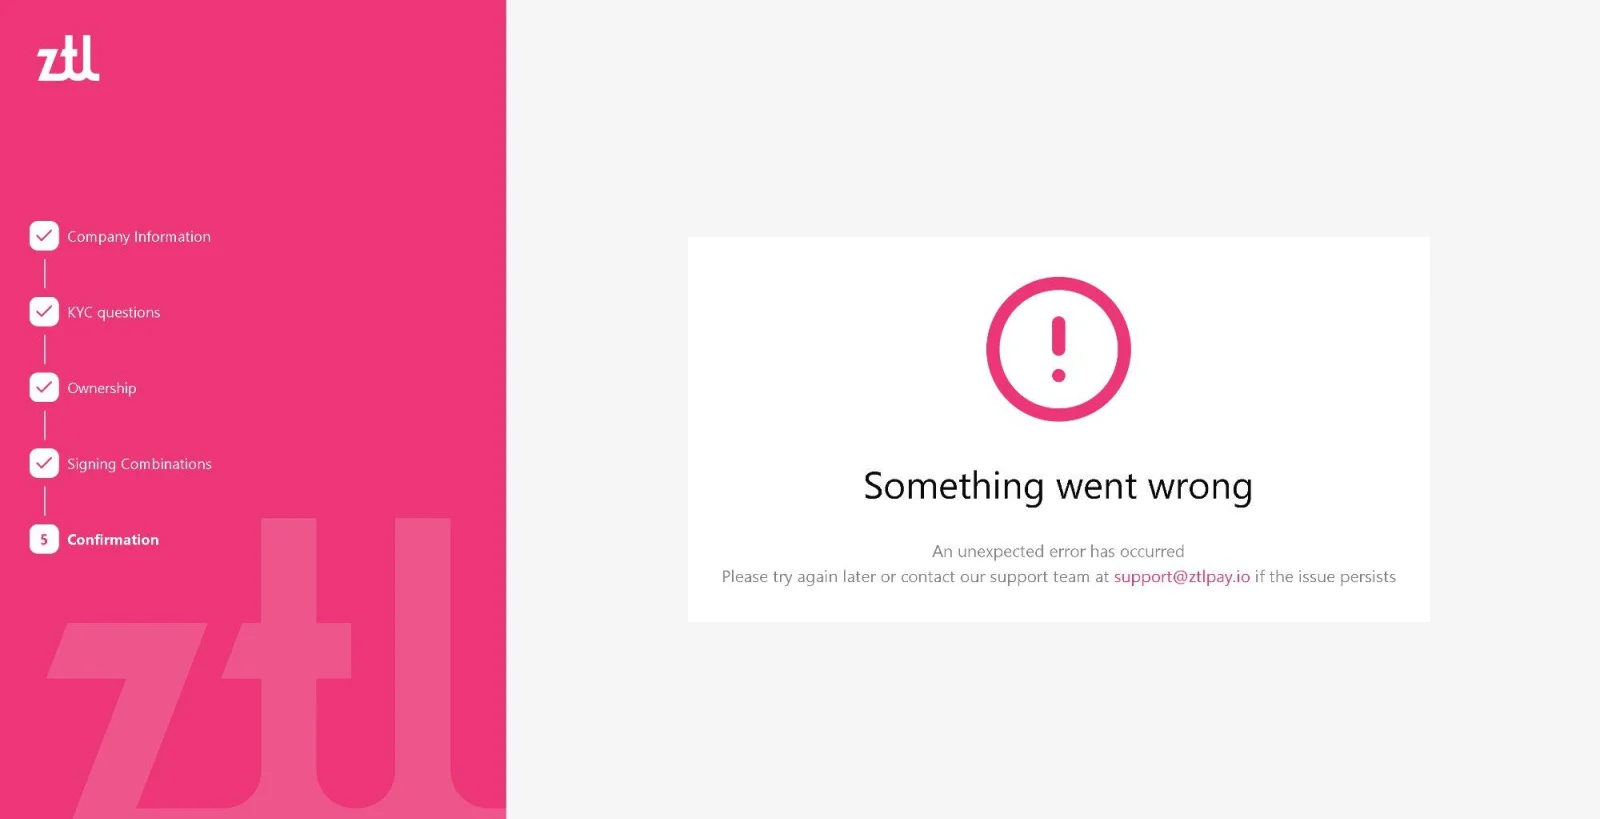
Note: If the error «Something went wrong» appears at this step, try again or contact support@ztlpay.io.
Signing the agreement
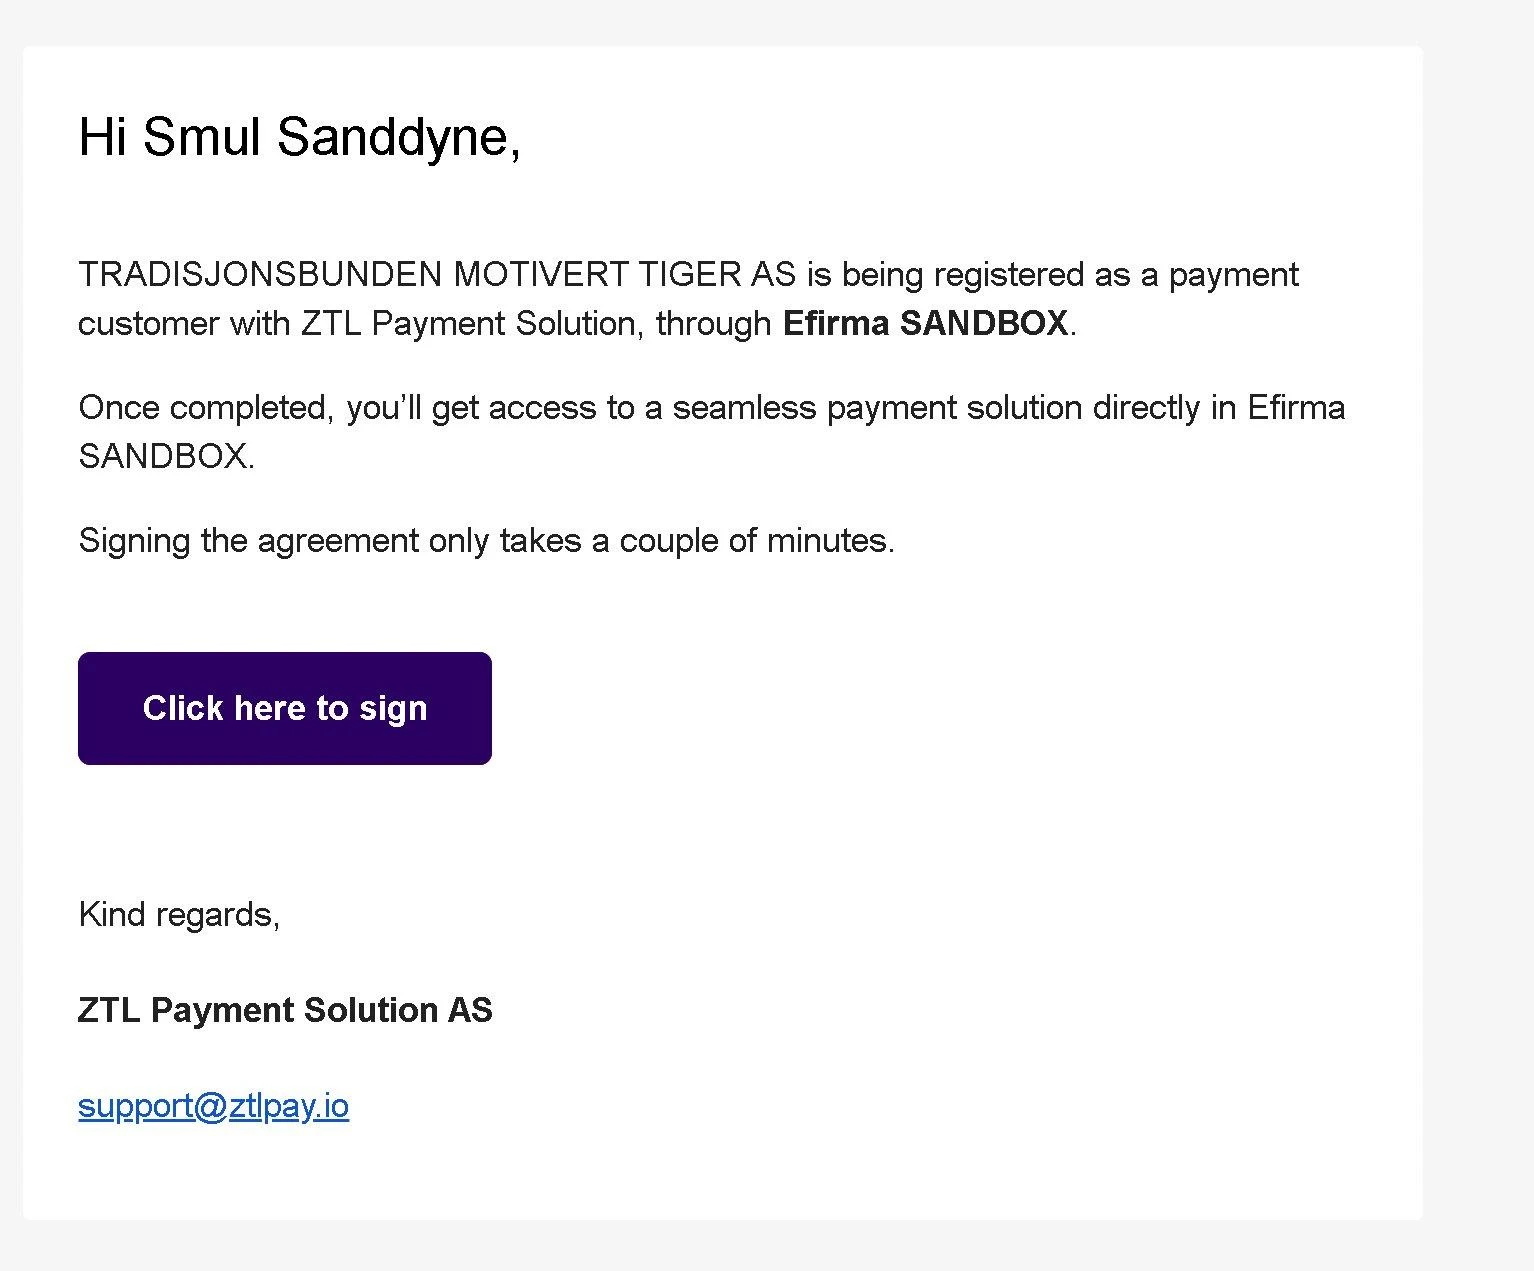
The person who is to sign receives an email from ZTL Payment Solution AS with the button «Click here to sign». Click it.
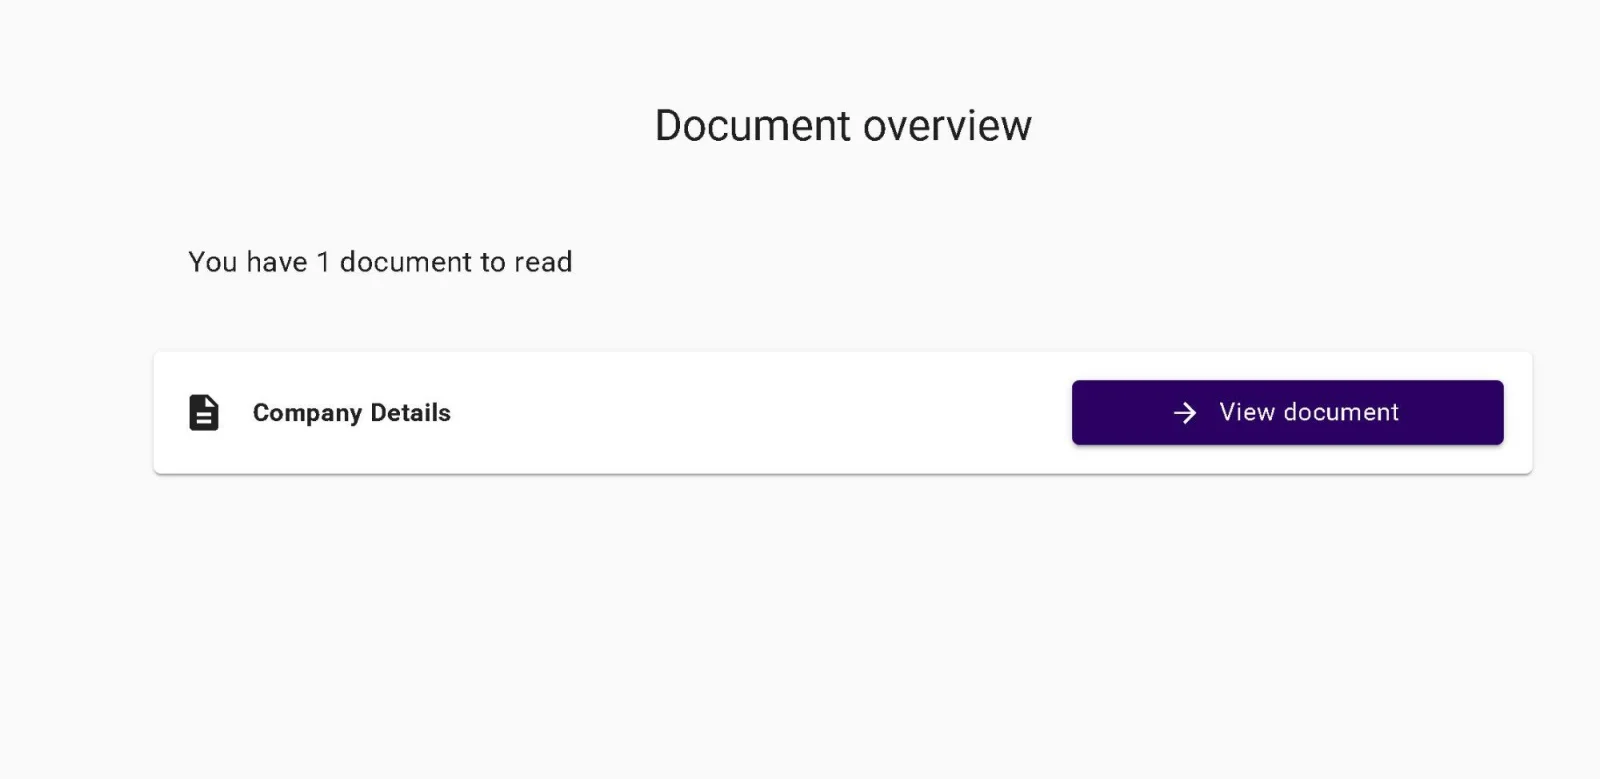
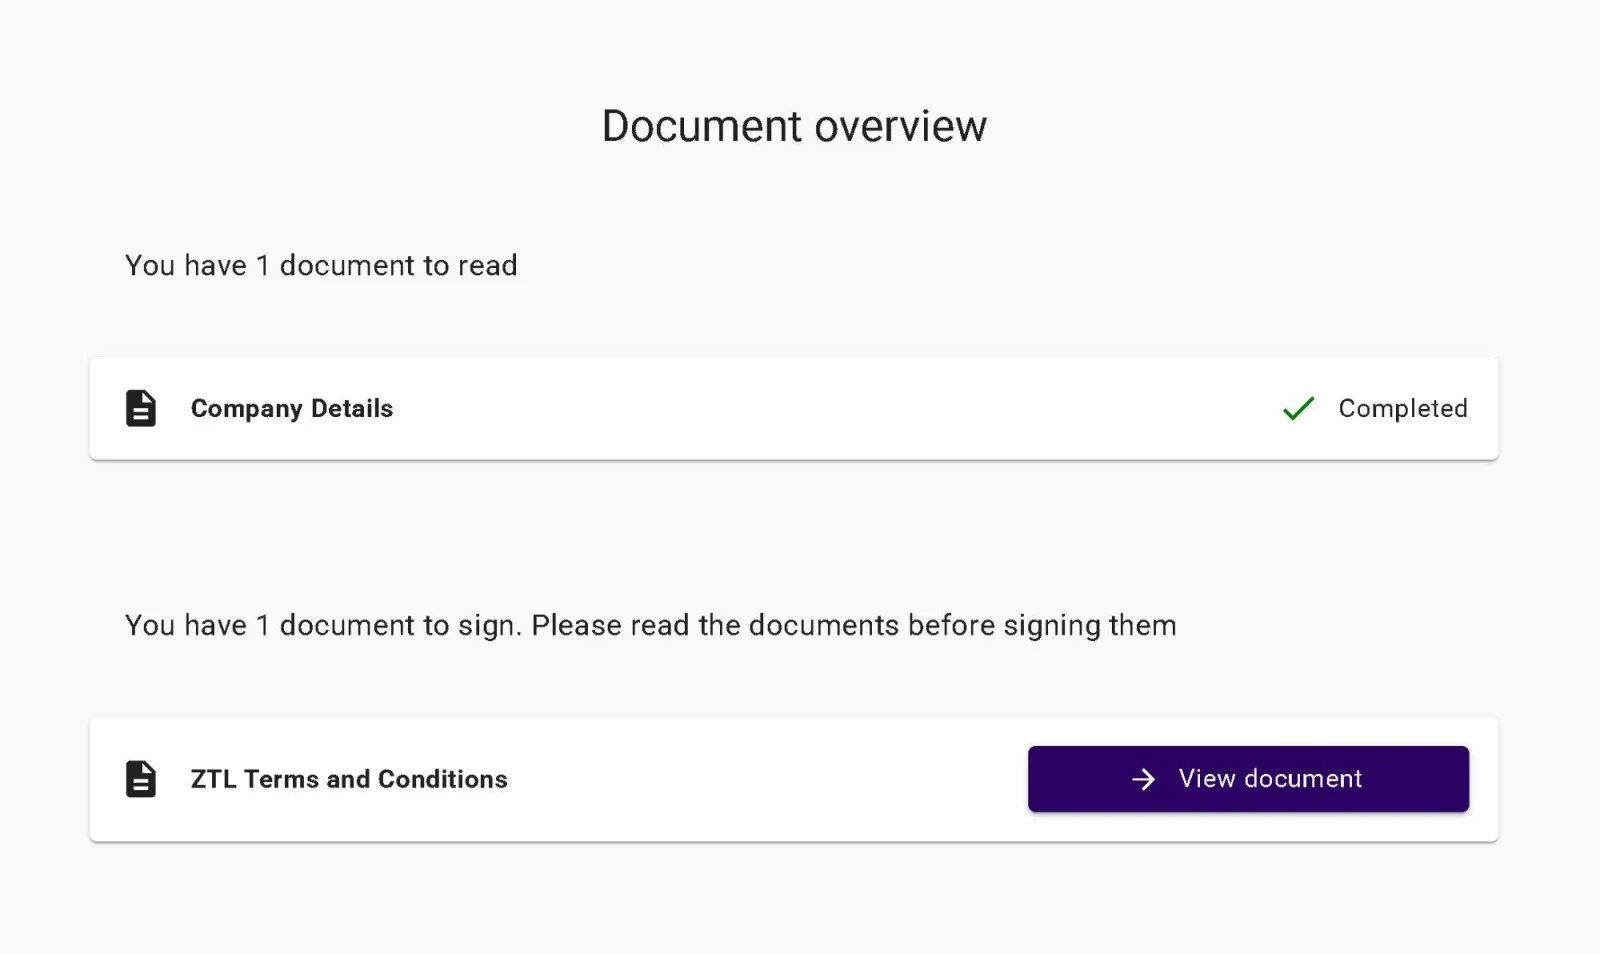
You will see the «Document overview» page. First click «View document» next to the Company Details document and go through the company details and the KYC answers.
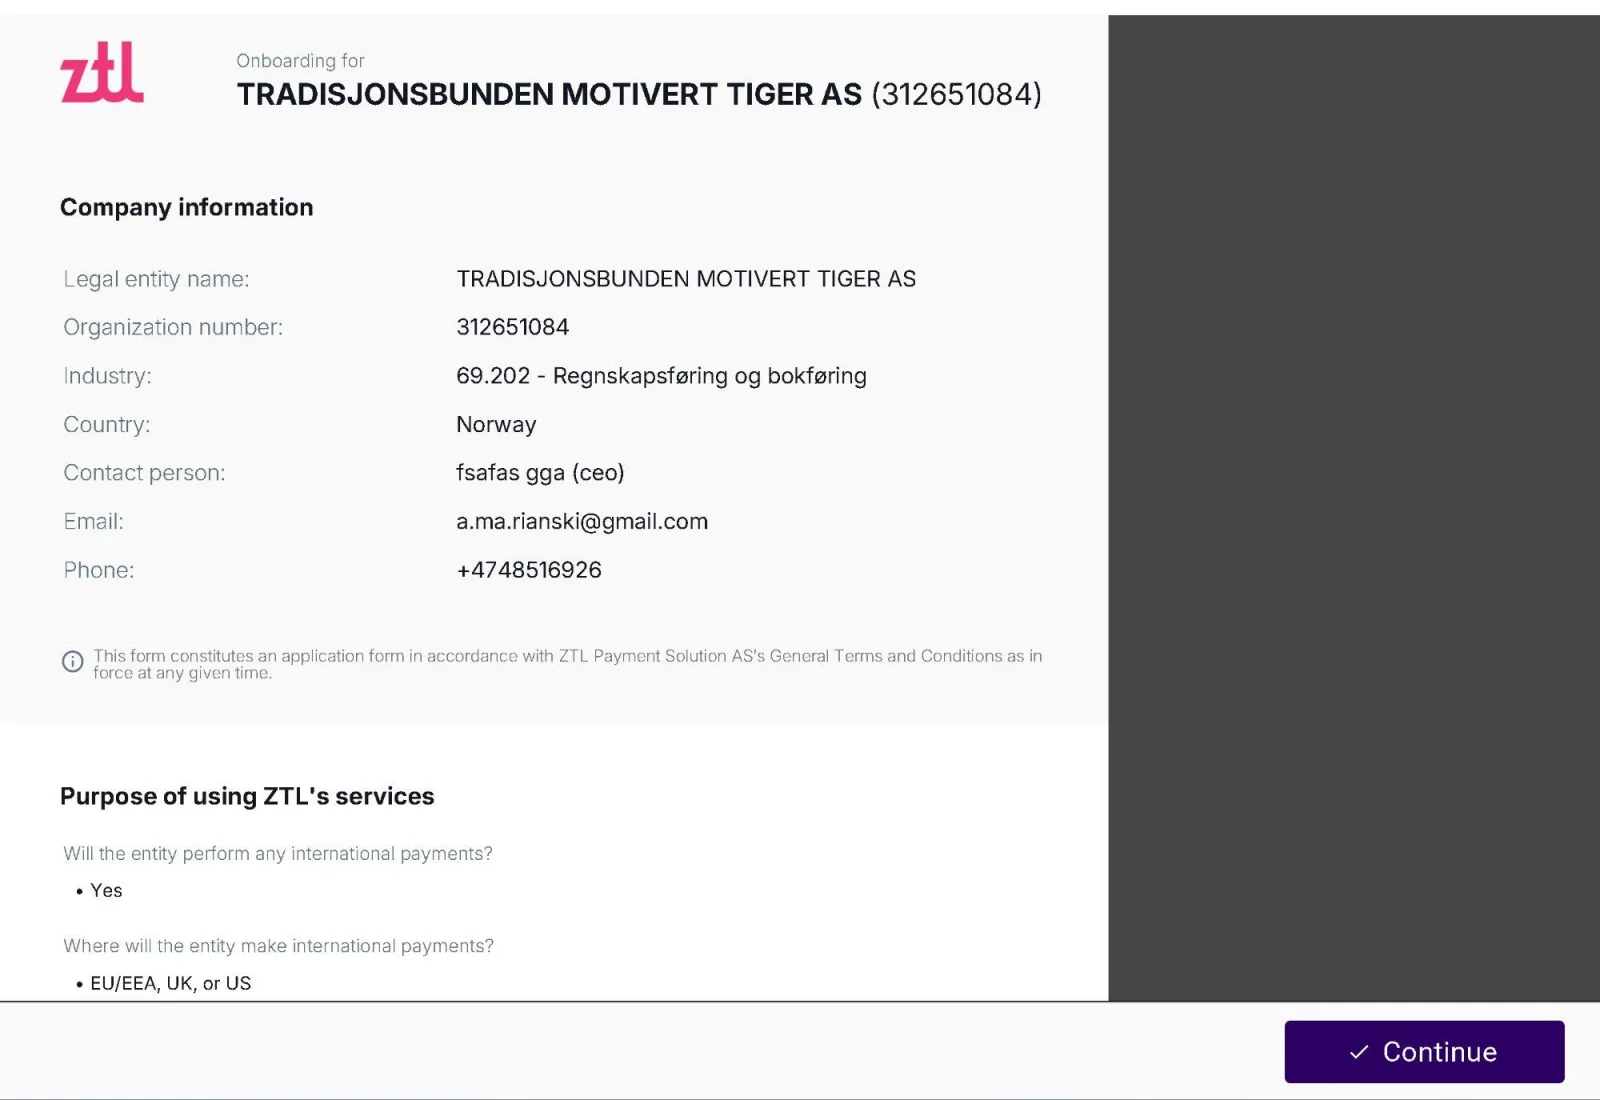
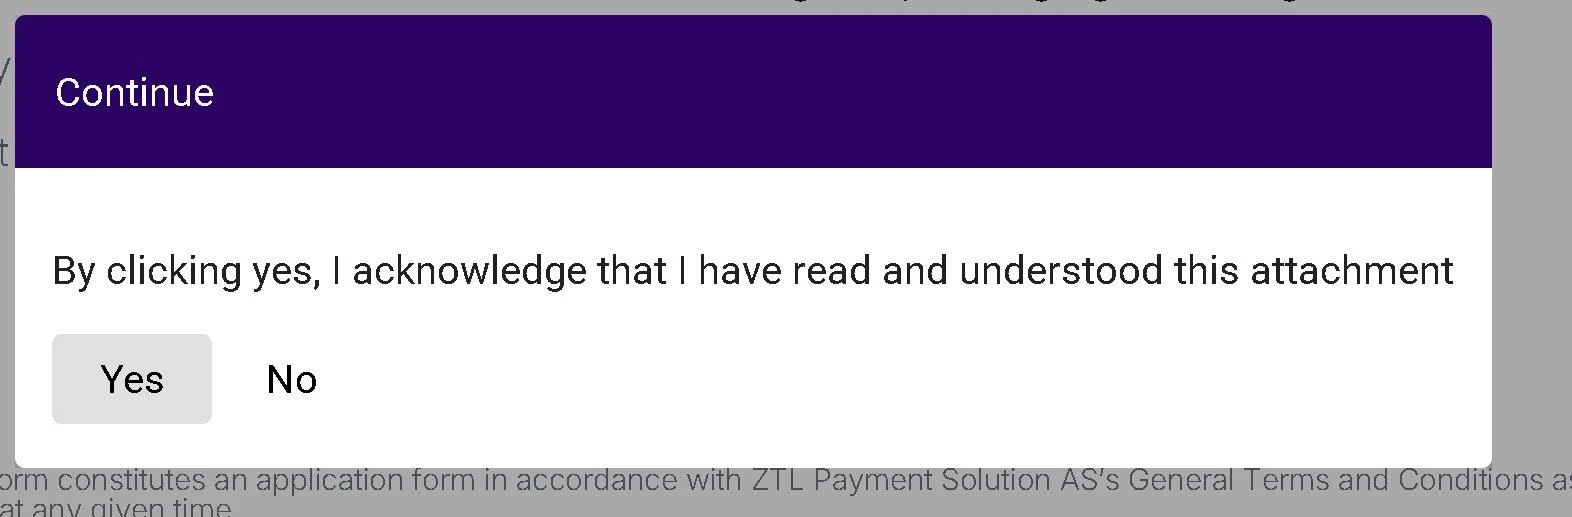
Click Continue, then click Yes in the pop-up window («By clicking yes, I acknowledge that I have read and understood this attachment»).
Then click «View document» next to ZTL Terms and Conditions.
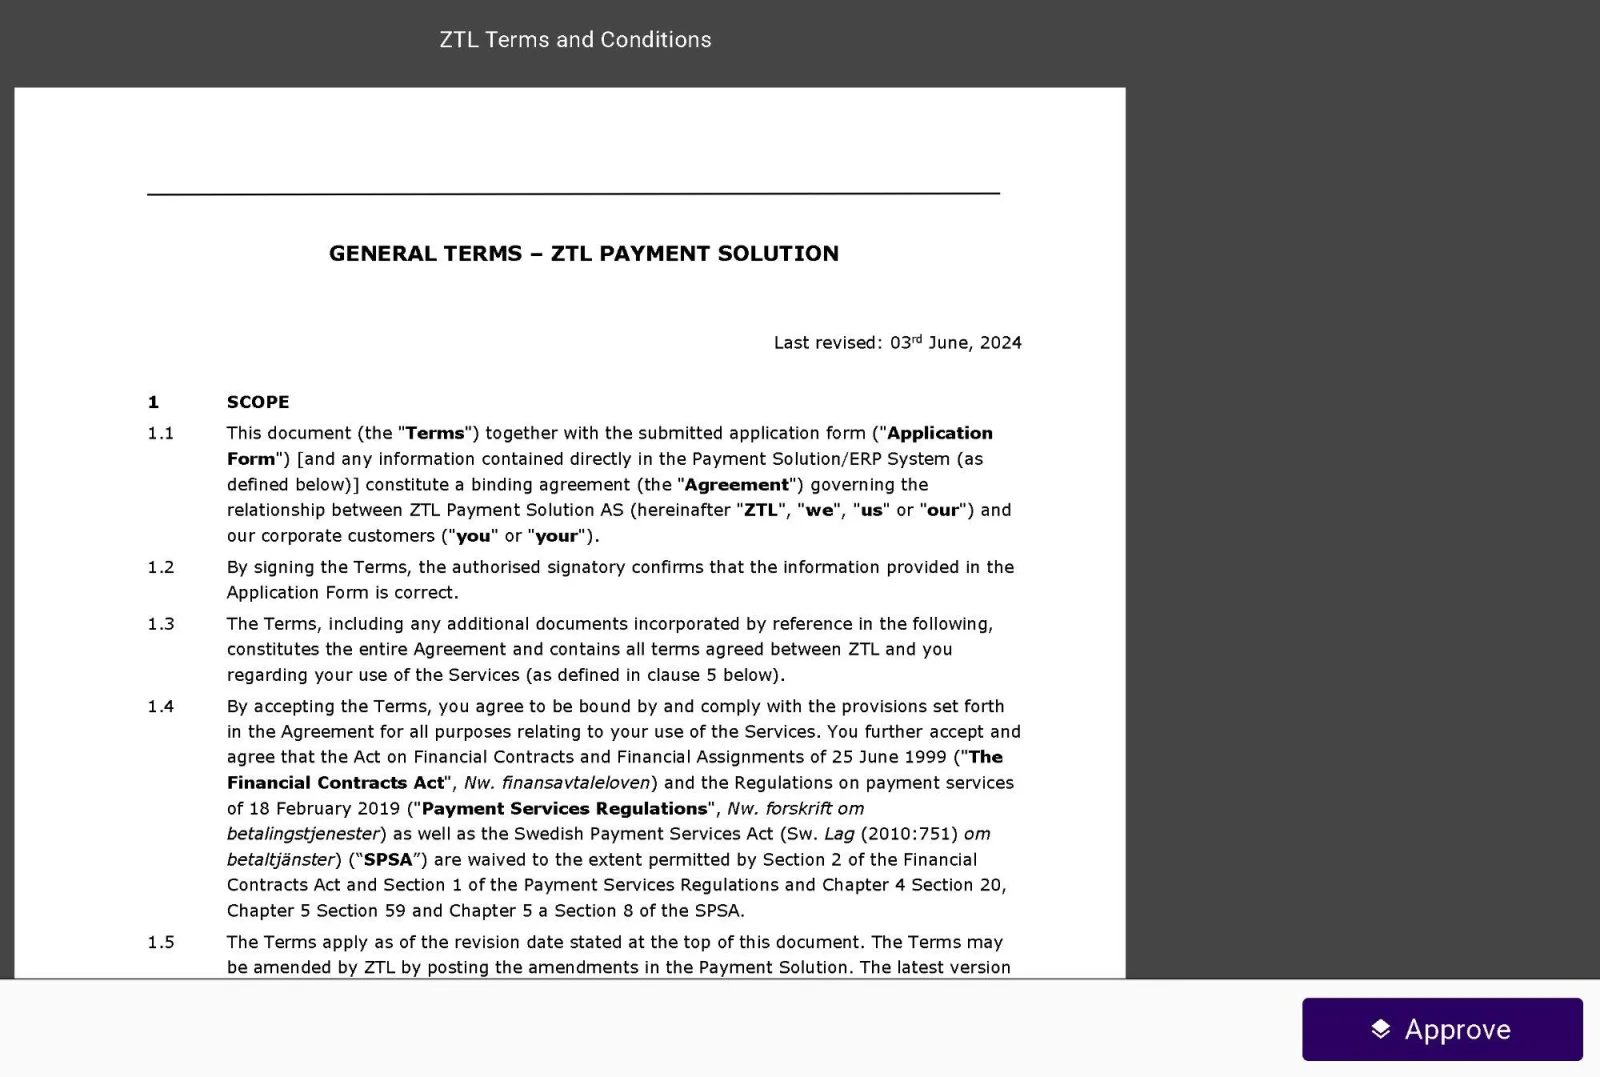
Read the terms and click Approve.
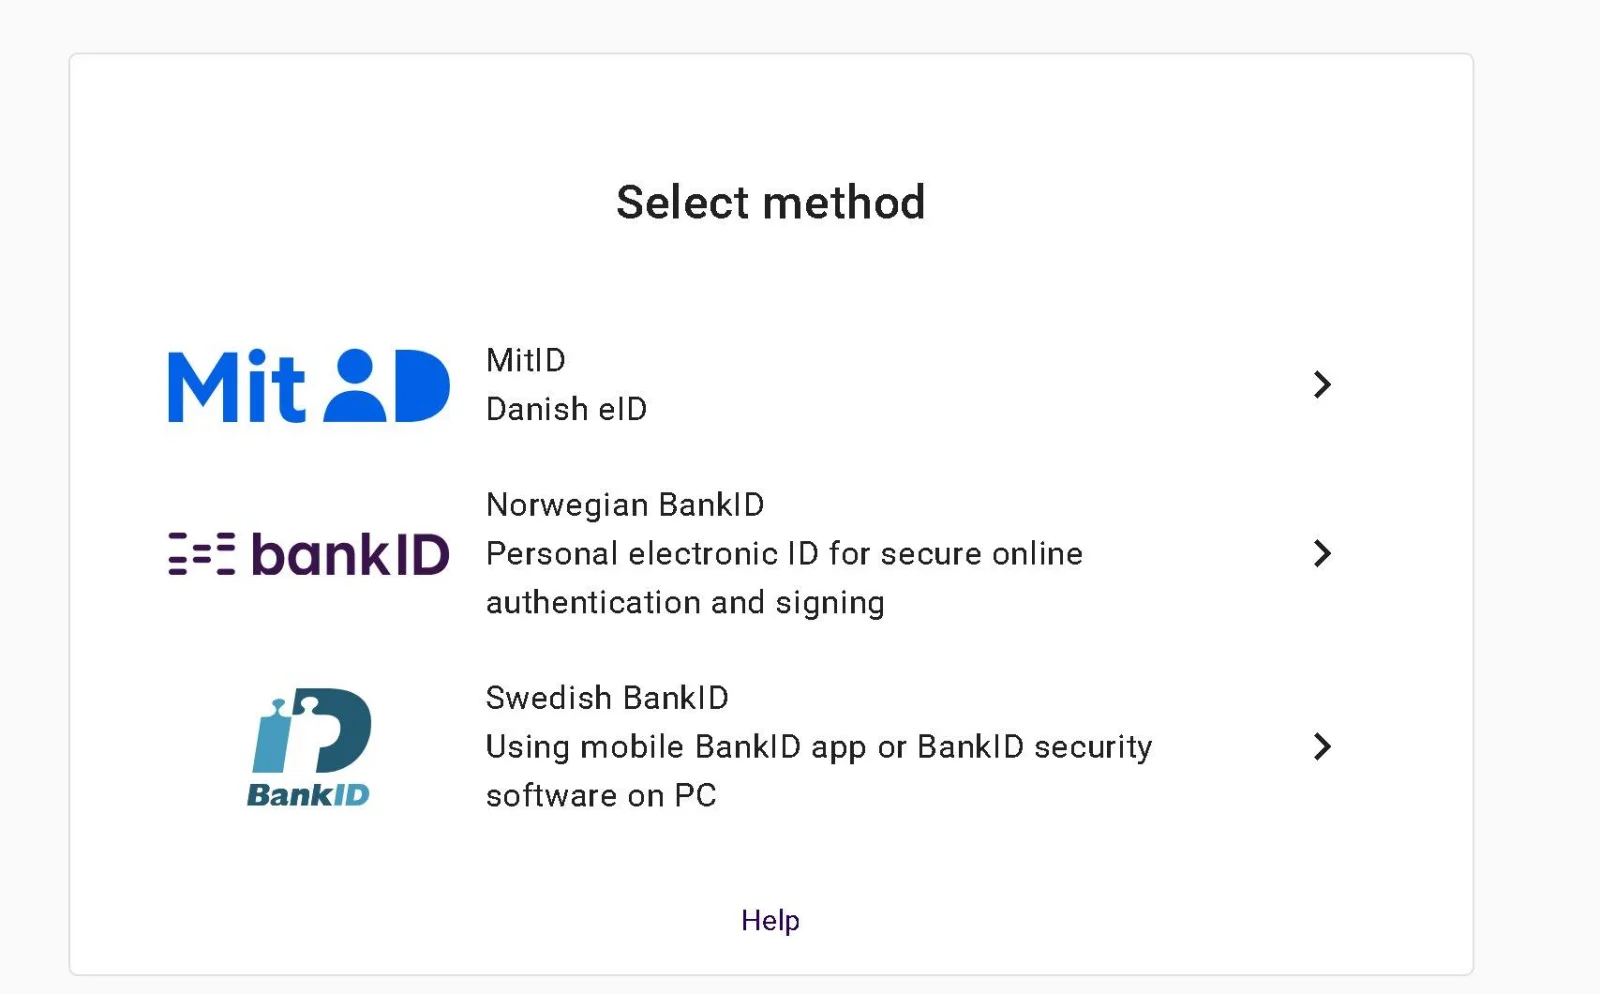
Choose a signing method (Norwegian BankID, Swedish BankID or MitID) and sign the agreement.
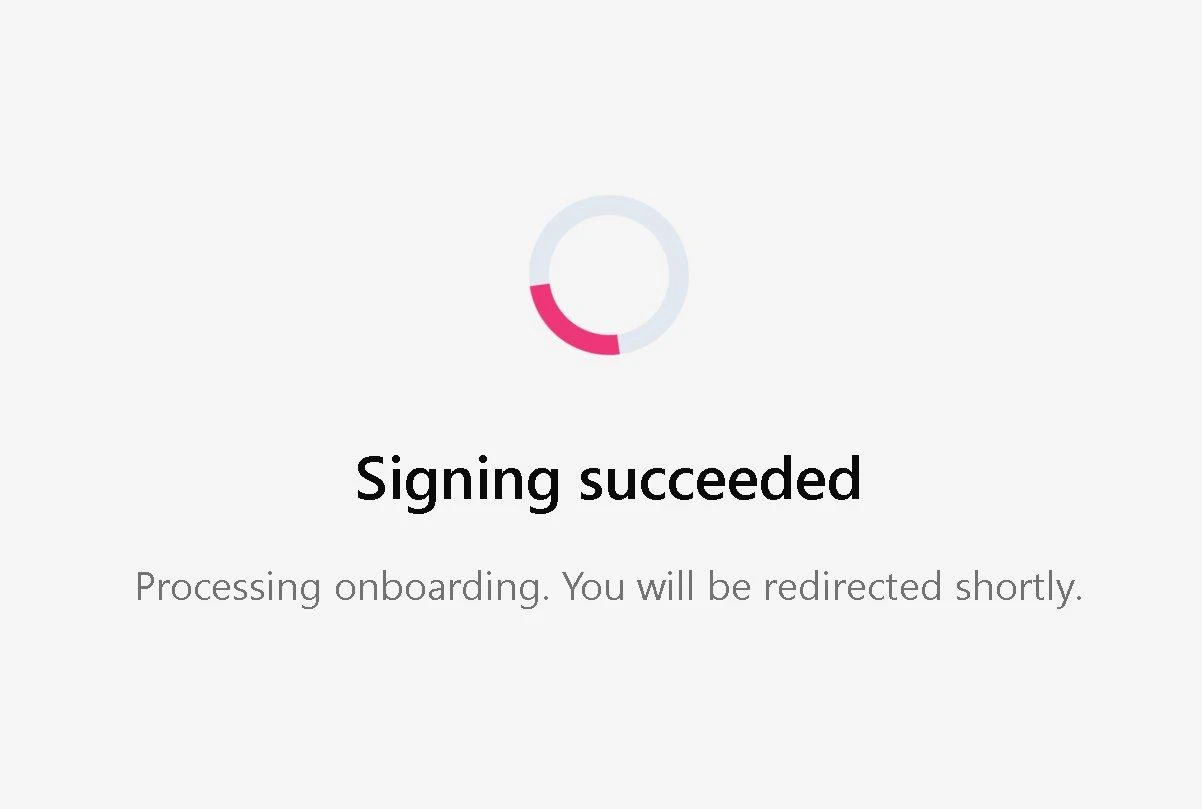
When the signing is complete, the message «Signing succeeded» is shown, followed by the «Processing onboarding» screen.
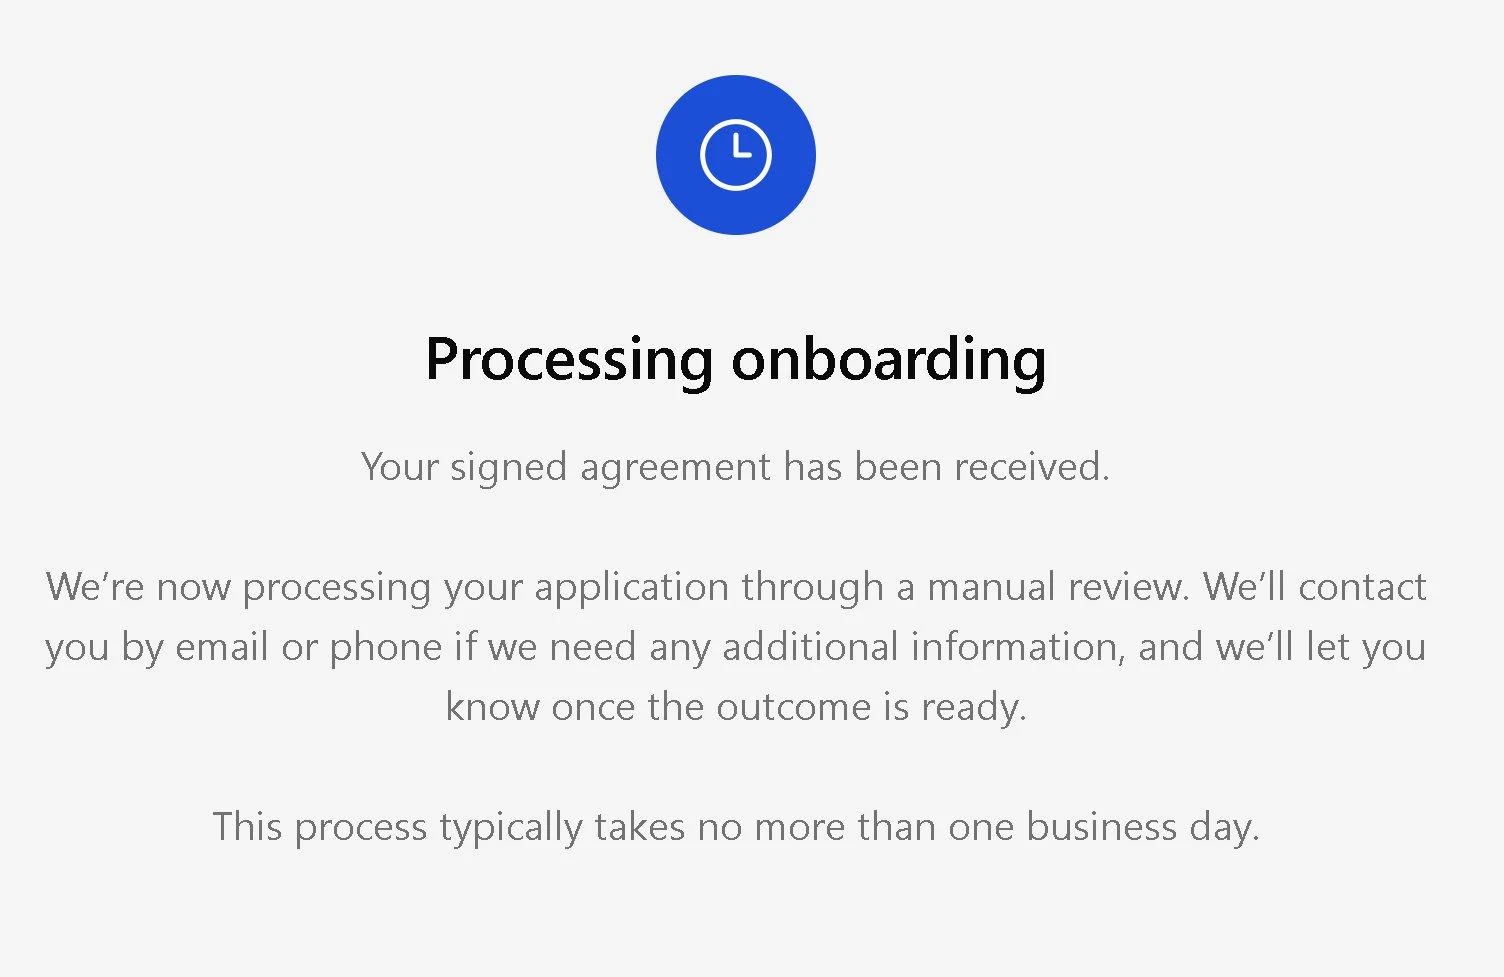
Your application is now being processed (manual review). The process usually takes at most one business day. You will receive the result by email.
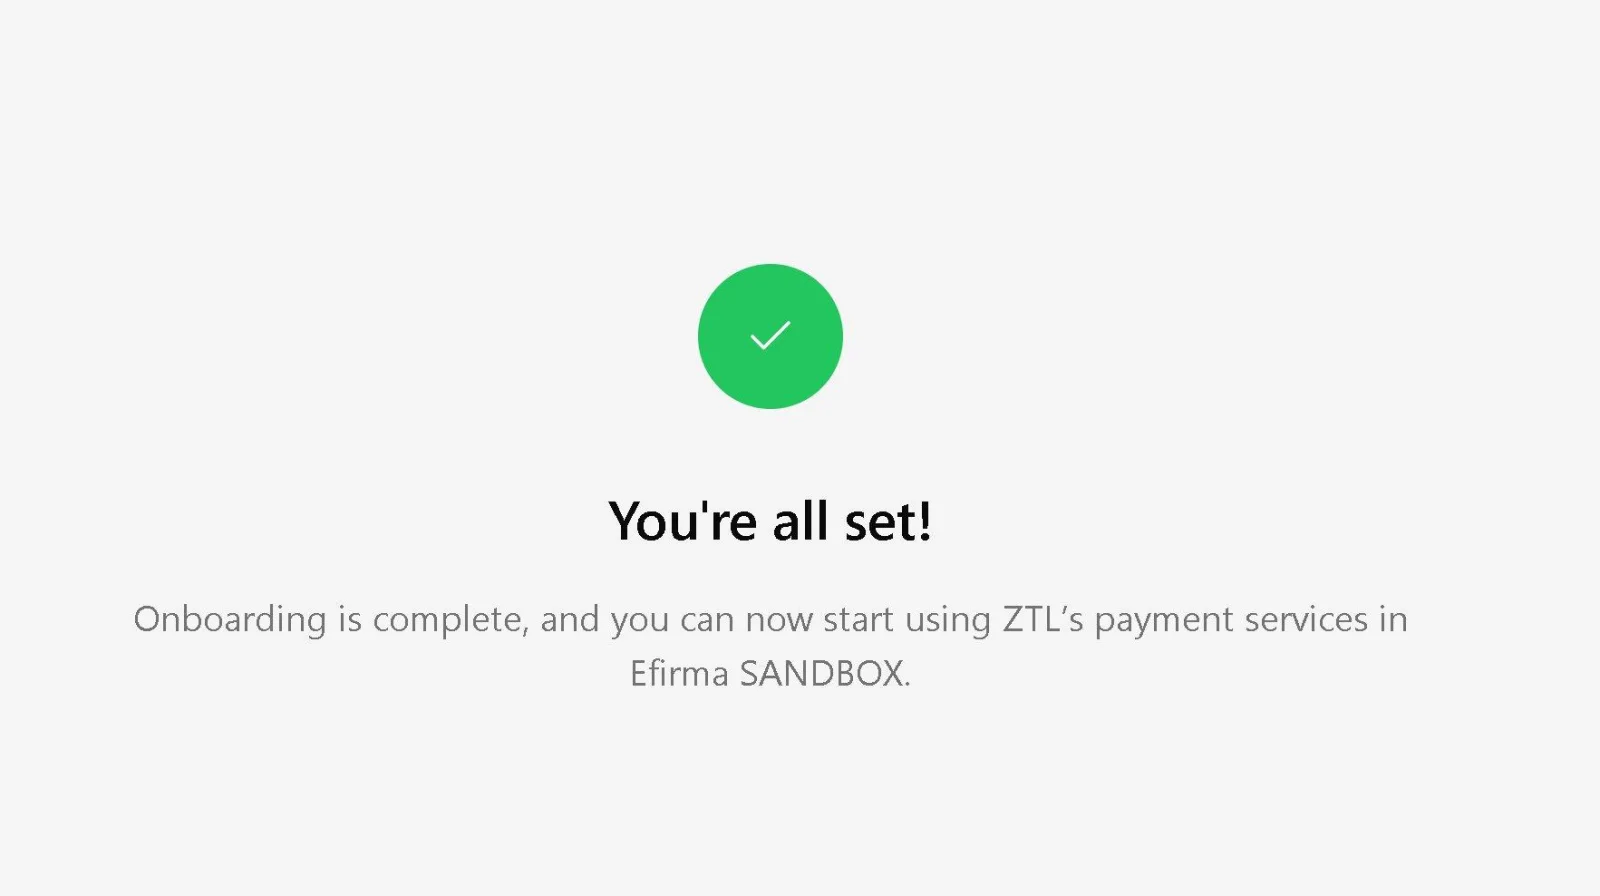
After approval, the «You’re all set!» screen is shown - the onboarding with ZTL is complete!
Part 3: Connecting the bank
Once the onboarding with ZTL has been approved, go to bank.efirma.no/onboarding and continue to the last step - connecting to the bank.
Choose your bank from the list and click Koble til:
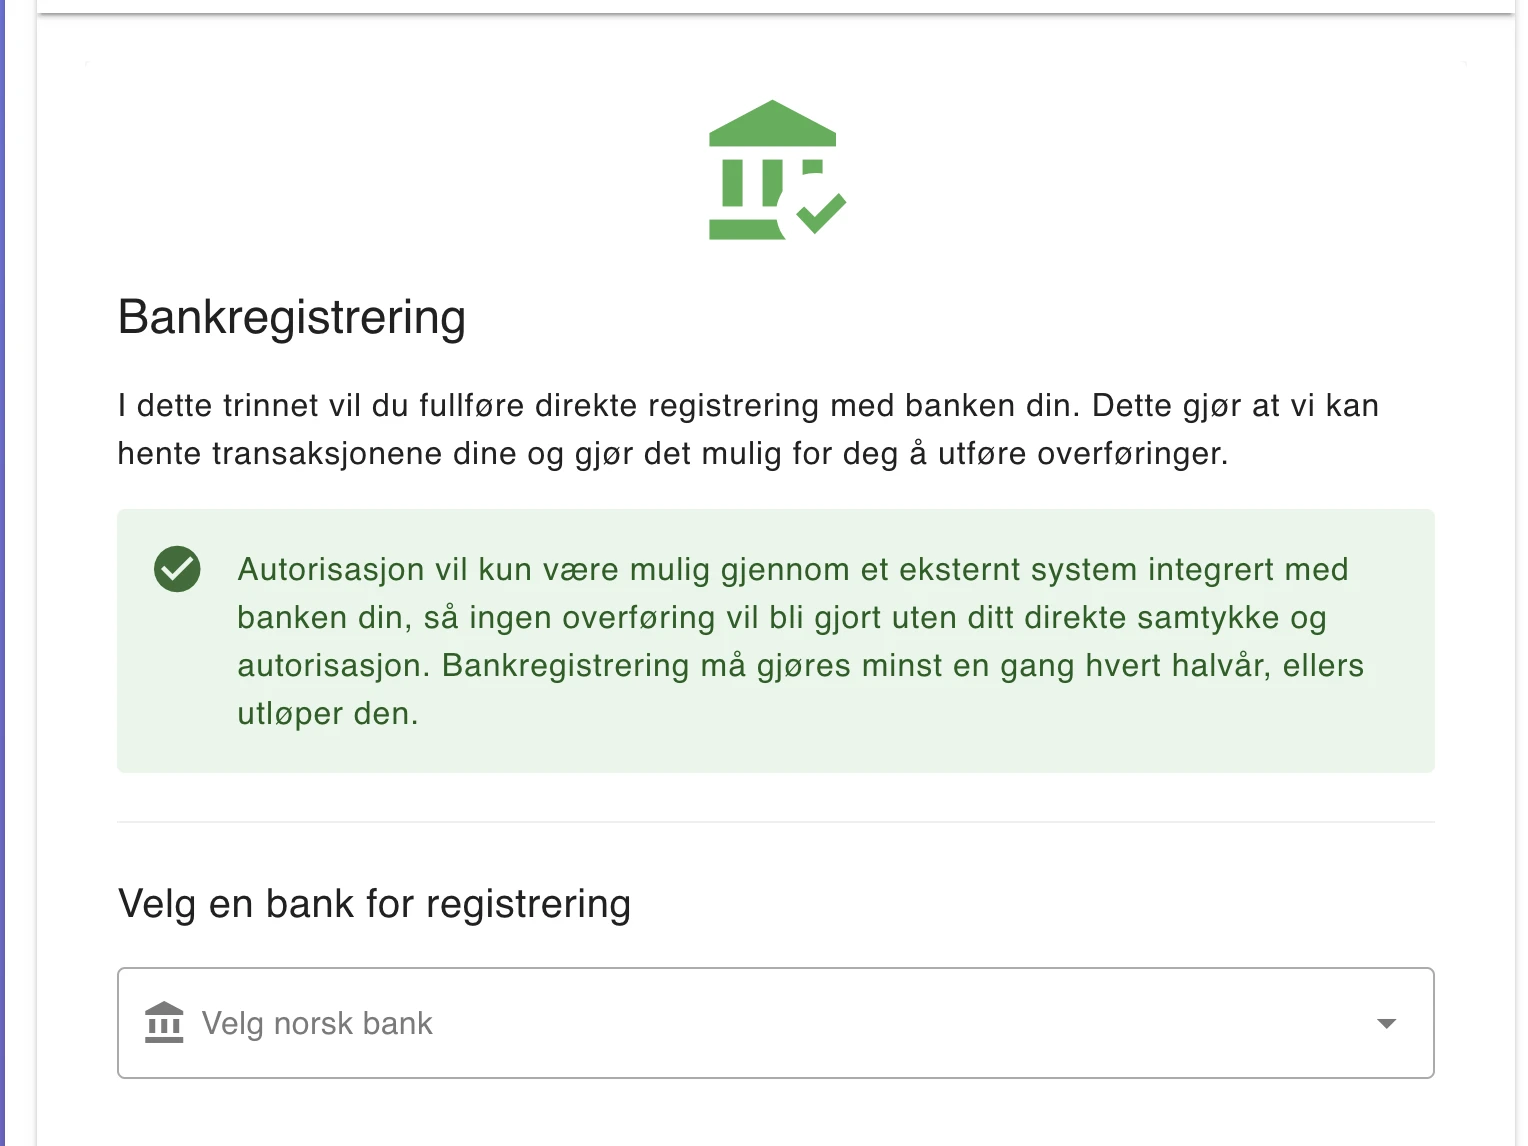
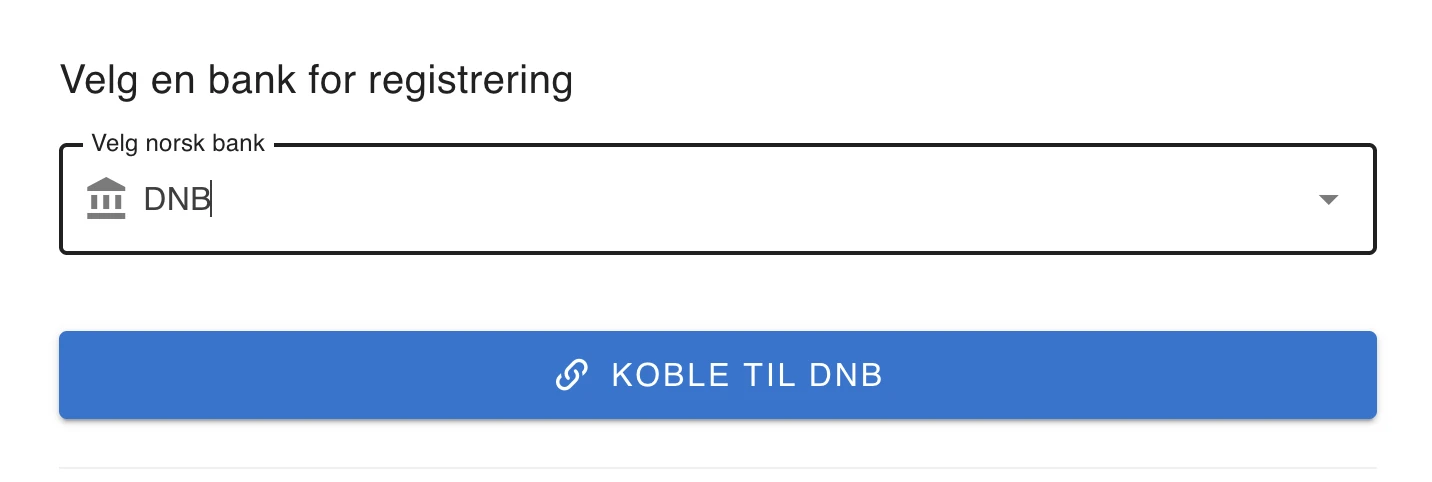
For DNB, change the identifier to the company ID (see point 4 under preparations). For other banks, the organisation number is the identifier. Click «Opprett samtykke»
Click «Åpne autorisasjonslenke»
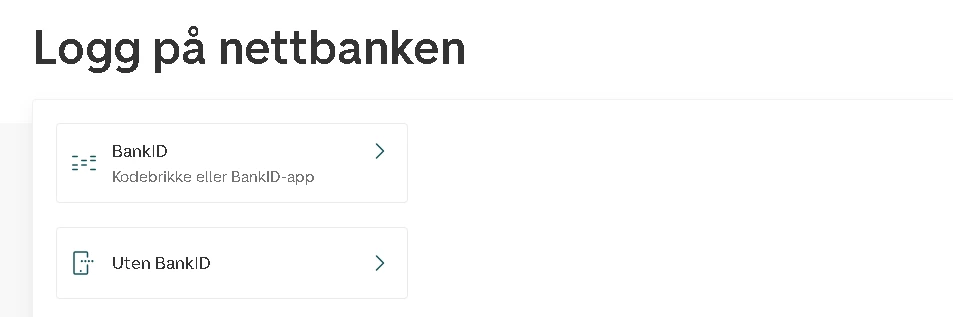
Follow the instructions from your bank. For DNB, for example, choose BankID:
After logging in and confirming, click «Fullfør onboarding»
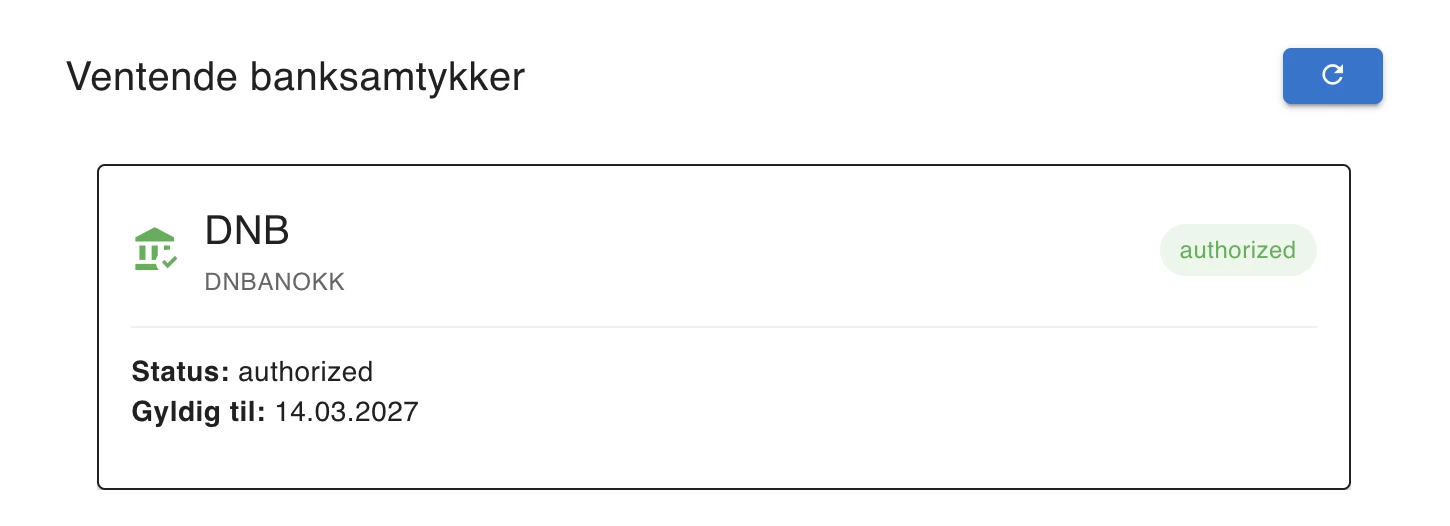
If you see your business accounts and the current balance on the start page, the integration is complete - thank you 🙂
Have a question?
Get in touch!
Leave your phone number and we will call you back within 24 hours. Happy to answer any of your questions.
We will call back within 2 working days